Preparing to Use CLI Tools
To enable sending results from a CLI (Command Line Interface) tool, you must first:
- Add the tool to the list of available security tools in the Integrations → Security Sources section
- Fill in the required fields:
- Name
- Description
- Select one of the available tools:
- Trivy
- Grype
- OWASP Dependency Track
- Semgrep
- Aqua
- CodeScoring
- Kaspersky Container Security
- KICS
- PT Application Inspector
- Solar Appscreener
- Manual - a third-party tool from which scan results can be uploaded into the system. These results will be considered during further data processing. Results are uploaded in JSON format with the same requirements as presented in the Upload External Report section.

Adding a Scan Source
After adding the tool, you need to:
-
Go to Integrations → Scan Sources
-
Click Add Scan Source
-
Fill out the form:
- Name
- Description
- Specify Source = CLI Tool Custom Source
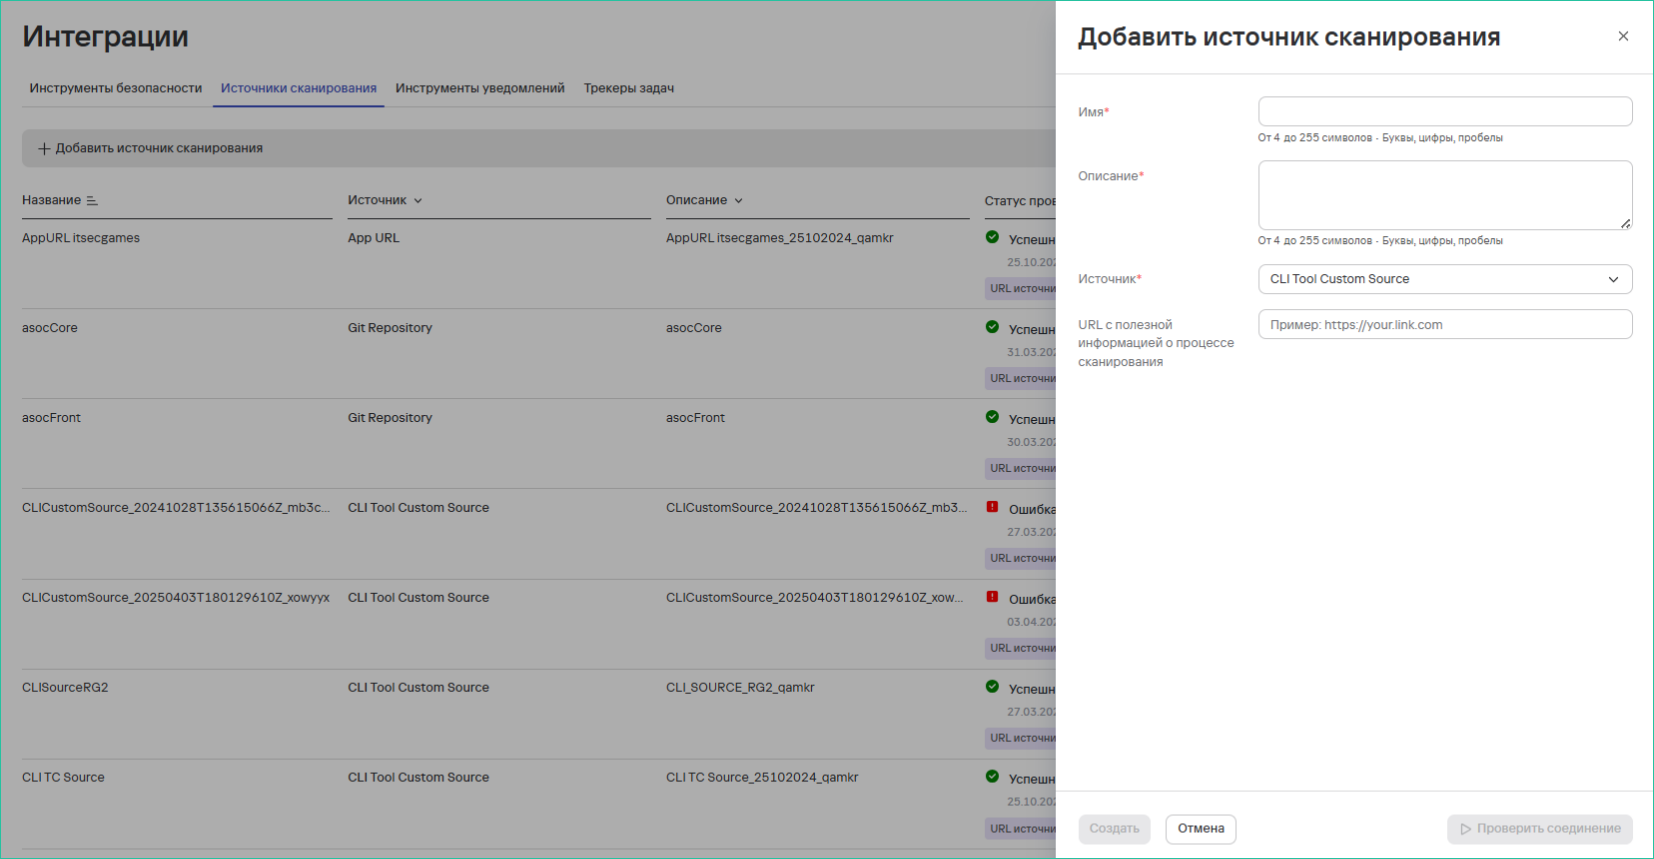 info
infoFor CLI tools, the source can be any link (repository, knowledge base, etc.)
-
Click the Create button
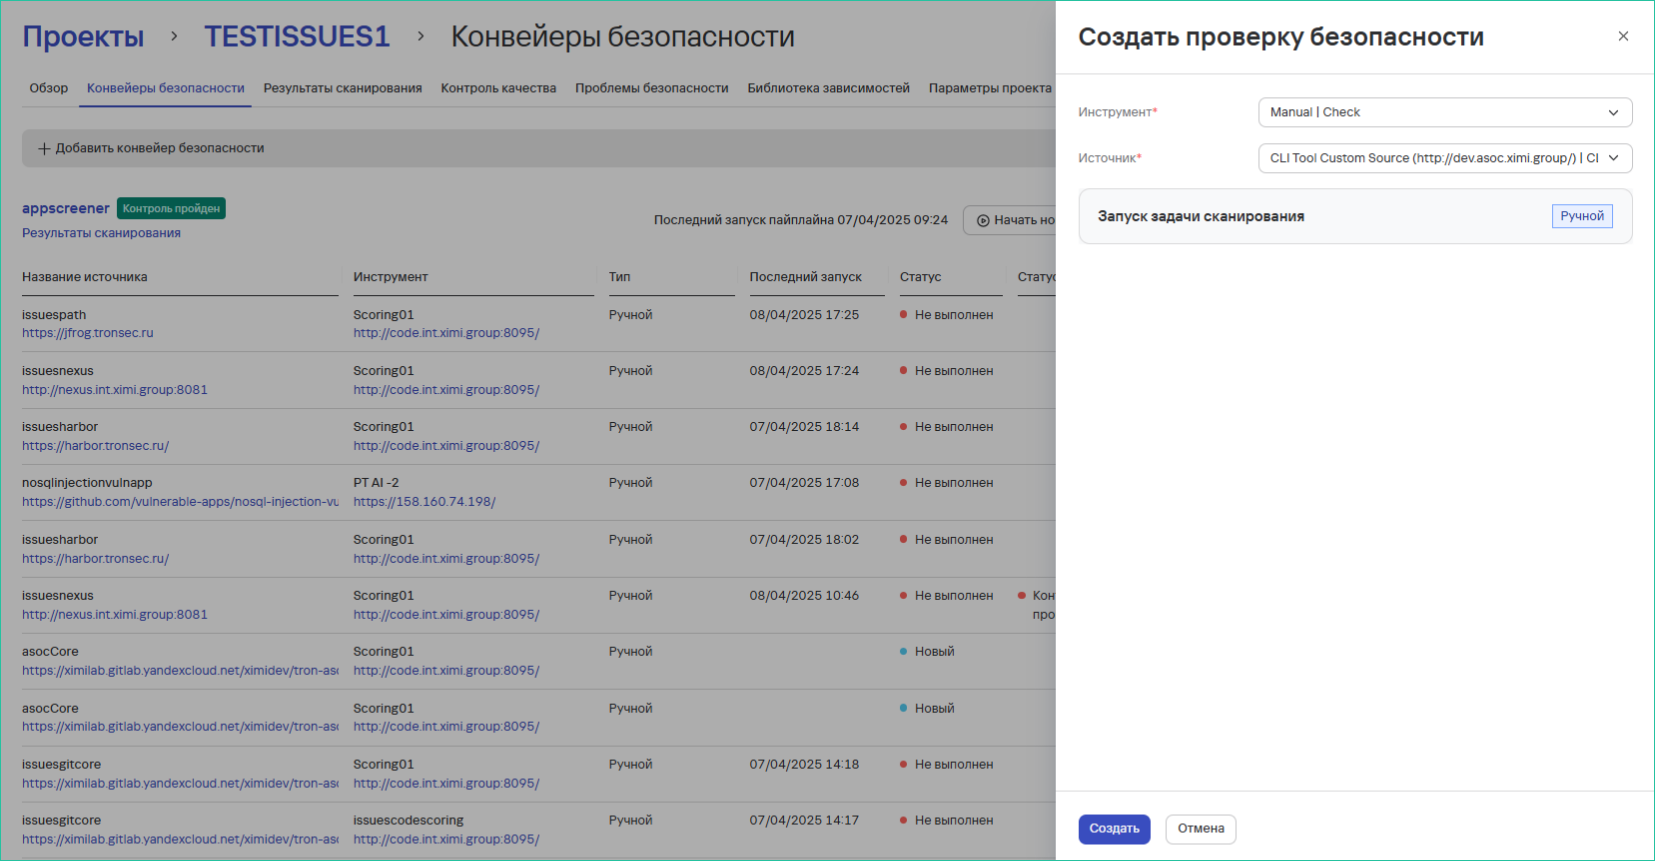
Creating a Security Check
To create a check:
- Go to Projects → Project Name → Security Pipelines
- Click Add Security Check
- In the form, specify:
- The previously created scanning tool (the "Tool" field)
- The scan source (the "Source" field)
- Click Create
After successfully creating the check, the following becomes available:
- Launching scans for this check
- Managing all created project checks