Управление пользователями и ролями
Раздел Управление доступом позволяет администраторам управлять пользователями и их ролями в системе. Раздел включает четыре ключевых подраздела:
- Пользователи
- Роли
- Группы
- LDAP
- SSO
- Параметры аутентификации
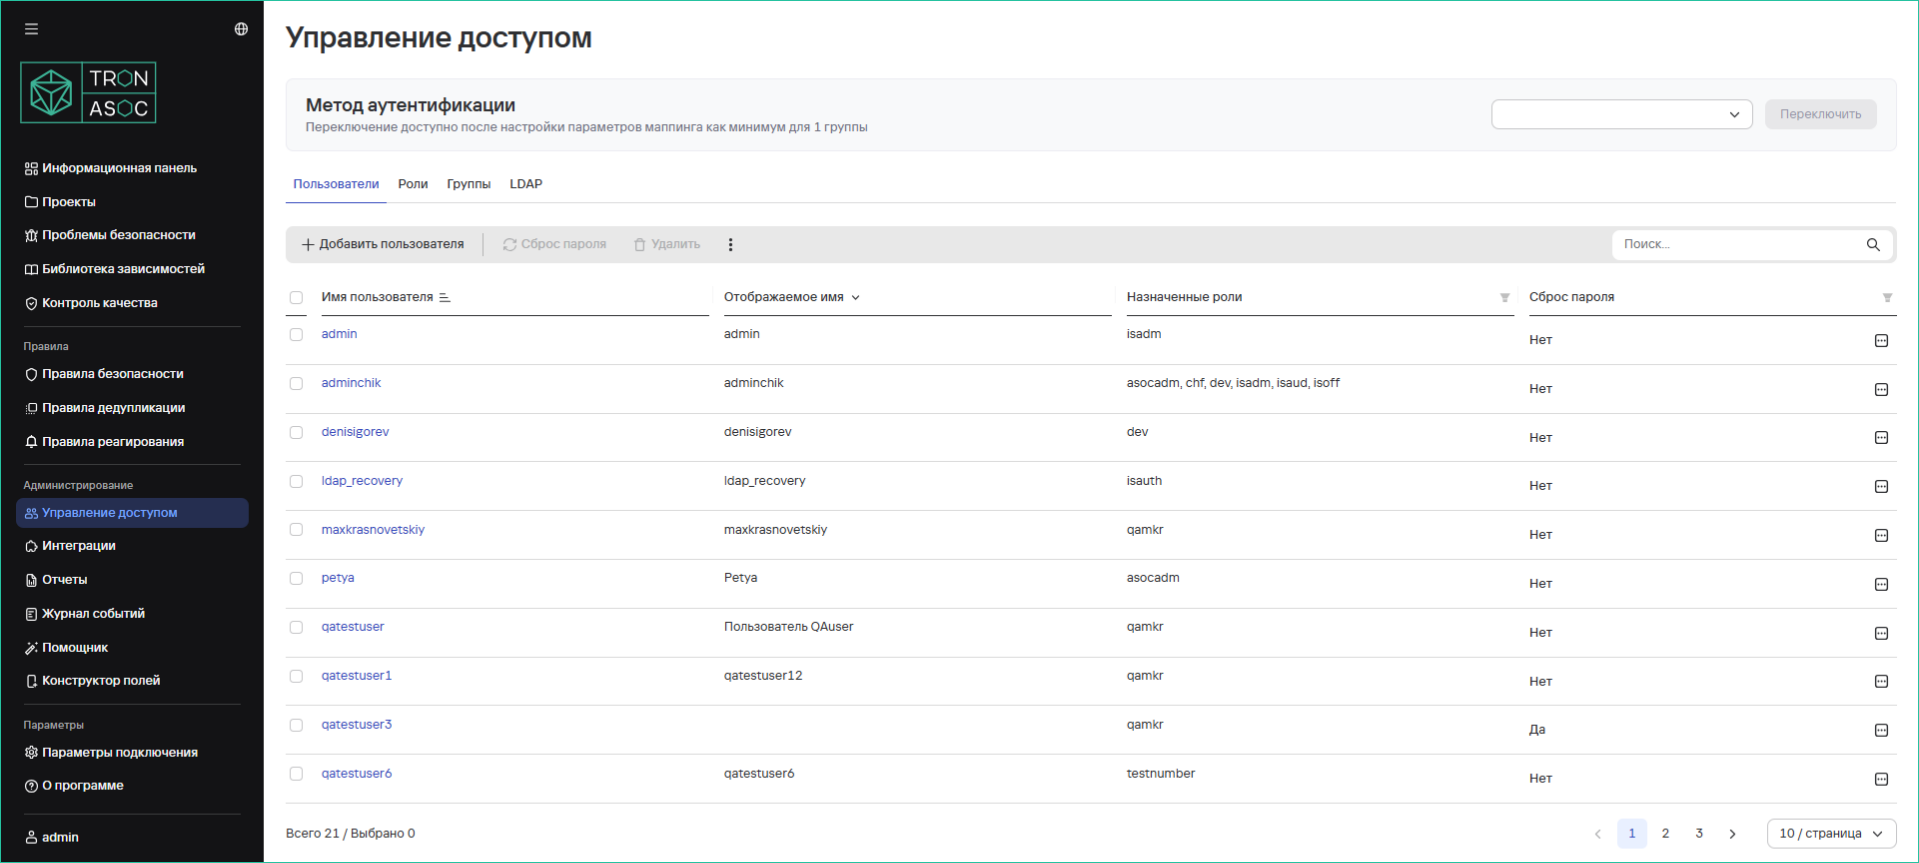
Пользователи
Вкладка Пользователи предоставляет список со следующей информацией о пользователях:
- Имя пользователя — уникальный логин или идентификатор пользователя
- Отображаемое имя — имя, которое видят другие пользователи
- Назначенные роли — перечень ролей, которые присвоены пользователю
- Сброс пароля — индикатор того, требуется ли пользователю сброс пароля. Значение Да означает, что пользователь должен изменить свой пароль при следующем входе
Добавление нового пользователя
Для добавления нового пользователя необходимо выполнить следующие шаги:
- В разделе Управление доступом нажать на кнопку Добавить пользователя
- В открывшемся окне Создать пользователя заполнить поля:
- Имя пользователя
- Отображаемое имя (не обязательно)
- Электронная почта
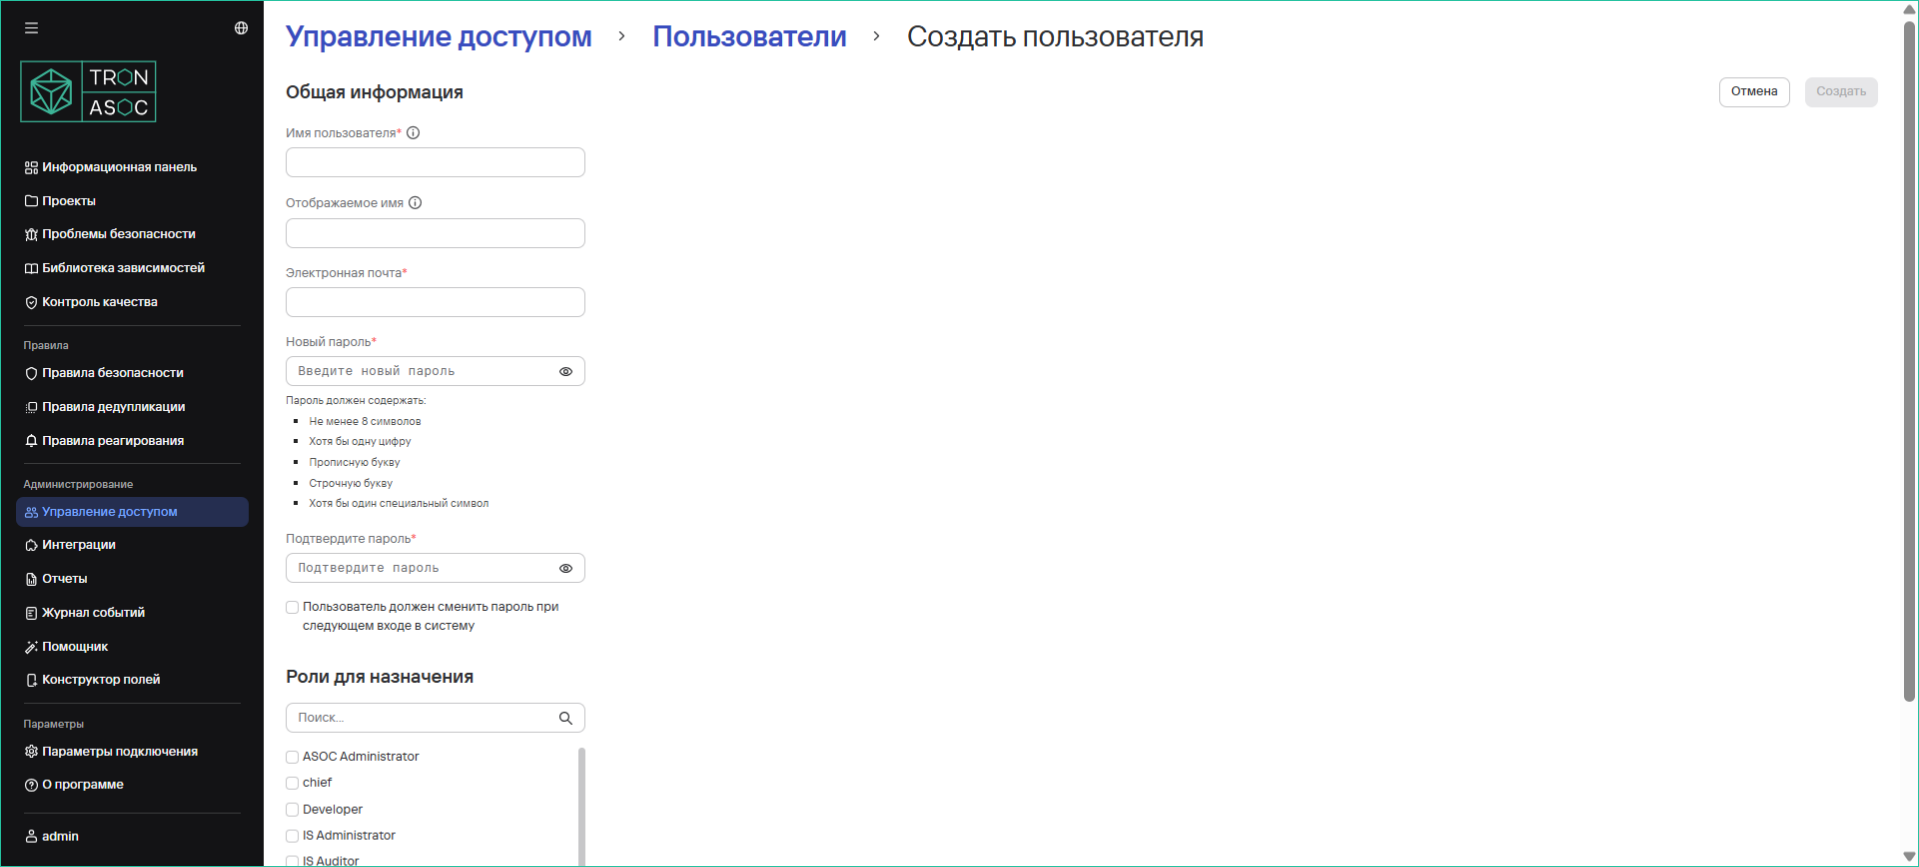
- Ввести пароль (соответствующий правилам авторизации) и подтвердить его в поле Повторите пароль
- Назначить необходимые роли в блоке Роли для назначения
- При необходимости включить опцию сброса пароля
- Нажать на кнопку Создать
Редактирование пользователя
Для того, чтобы отредактировать настройки пользователя, необходимо выполнить следующие шаги:
- В разделе Управление доступом найти пользователя в списке и нажать на его имя
- На странице редактирования изменить данные (кроме имени)
- Нажать на кнопку Сохранить
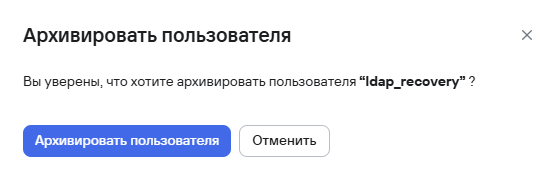
Архивация одного или нескольких пользователей
В TRON ASOC 1.5 доступна архивация пользователей вместо полноего удаления из системы.
Для архивации одного пользователя необходимо выполнить следующие шаги:
- Перейти в раздел Управление доступом → Пользователи.
- Нажать кнопку дополнительных действий (
 ) возле необходимого пользователя.
 - Выбрать вариант Архивировать.
- В открывшемся модальном окне подтвердить архивацию нажатием кнопки Архивировать пользователя.
Для архивации нескольких пользователей необходимо выполнить следующие шаги:
- Перейти в раздел Управление доступом → Пользователи.
- Выбрать пользователей с помощью чекбоксов (
 )
) - Нажать кнопку архивации (
 ), расположенную на панели над таблицей пользователей.
 - В открывшемся модальном окне подтвердить архивацию пользователей нажатием кнопки Архивировать пользователей.

Сброс пароля
Для того, чтобы инициировать сброс пароля необходимо выполнить следующее:
- Найти пользователя в списке и изменить значение Сброс пароля на Да.
При следующем входе пользователь должен будет изменить пароль.
Очистить сессии пользователя и сбросить пароль можно также в пунктах подменю в списке пользователей.
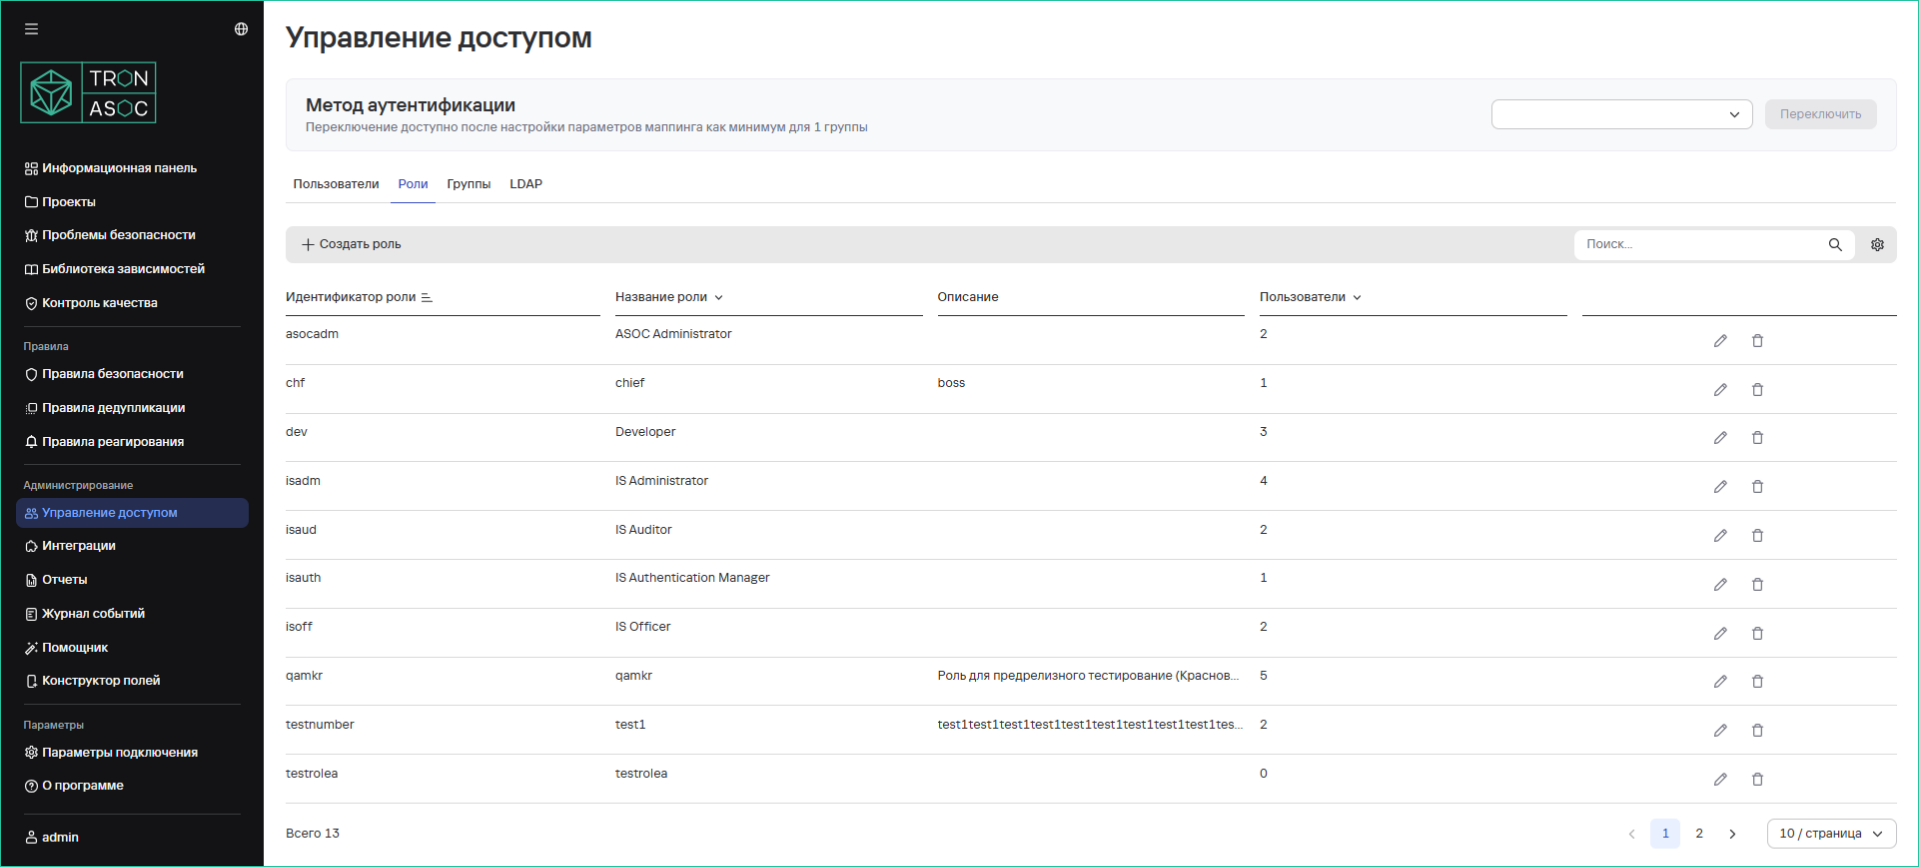
Роли
Во вкладке Роли отображаются все роли системы с указанием количества пользователей, которым они принадлежат.
Базовые роли системы
| Роль | Описание |
|---|---|
| Администратор (isadm) | Роль с полными правами, при установке продукта присваиваются все существующие права. Предназначена для пользователей, отвечающих за развертывание и сопровождение инфраструктуры и системного программного обеспечения, необходимых для работы решения (например, операционные системы, сервера приложений, базы данных), а также отвечающих за создание и управление учетными записями, ролями и доступами пользователей, внесение изменений в настройки, контроль лицензии, подключение инструментов безопасности и источников сканирования. |
| Аудитор (isaud) | Роль предназначена для контроля за безопасностью данных и систем, мониторинга действий пользователей и операций системы, анализа журналов событий, контроля результатов сканирования и соответствия Контролям качества. |
| Инженер ИБ (isoff) | Роль предназначена для контроля и обеспечения информационной безопасности разрабатываемых проектов, настройки правил безопасности и мониторинга угроз, управление инструментами безопасности, сканированиями. |
| Разработчик (dev) | Минимальная базовая роль, предназначена для пользователей, осуществляющих проверку на соответствие стандартам, просмотр результатов сканирования, исключенных проблем. |
- Роль Администратора нельзя удалить (только заблокировать)
- Остальные роли можно удалять
Добавление новой роли
Рекомендуется назначать минимальную базовую роль, а дополнительные права добавлять через группы (права по ролям и группам суммируются).
Для добавления роли необходимо выполнить следующие шаги:
- В разделе Управление доступом во вкладке Роли нажать Создать роль.
- В открывшемся окне заполнить:
- ID Роли
- Название
- Описание
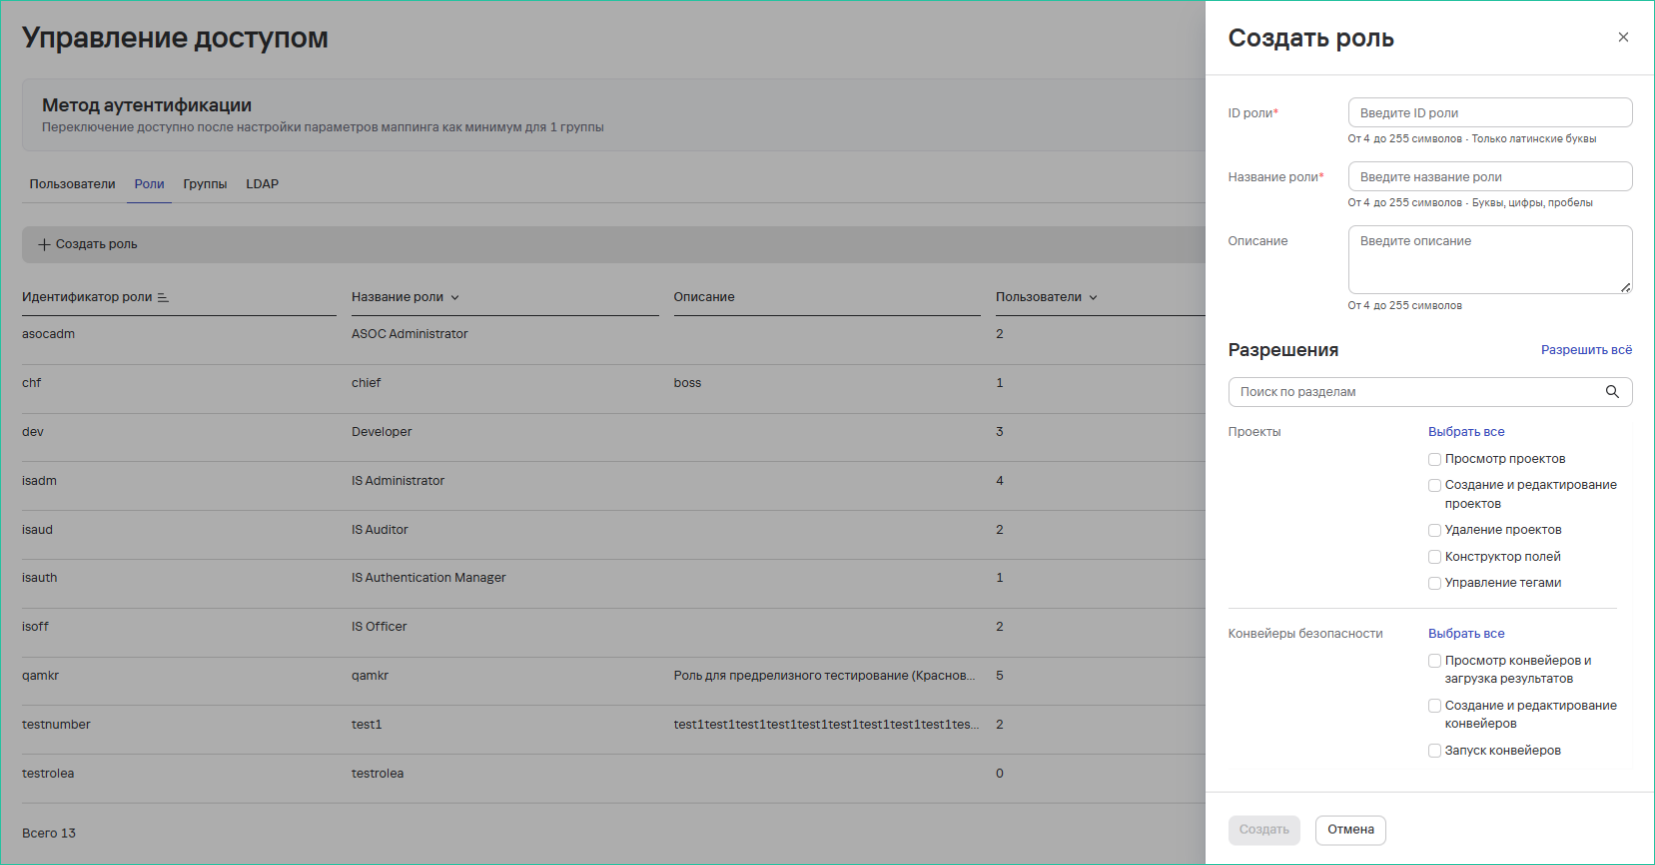
- Настроить разрешения:
- Просмотр/создание/редактирование/удаление проектов
- Конструктор полей, управление тегами
- Просмотр/создание/редактирование/удаление конвейерами безопасности и загрузка результатов
- Нажать на кнопку Создать
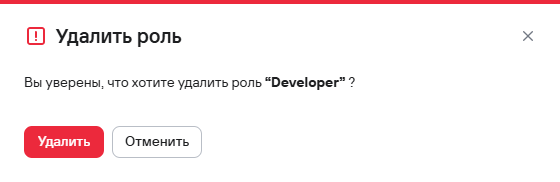
Удаление одной или нескольких ролей
Для удаления одной роли необходимо выполнить следующие шаги:
- Перейти в раздел Управление доступом → Роли.
- Нажать кнопку дополнительных действий () возле необходимой роли.
- Выбрать вариант Удалить.
- В открывшемся модальном окне подтвердить удаление роли.
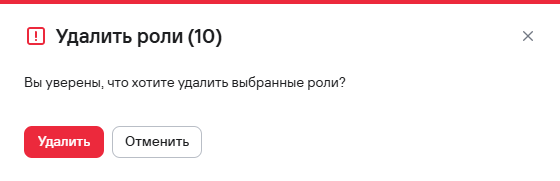
Для удаления нескольких ролей необходимо выполнить следующие шаги:
- Перейти в раздел Управление доступом → Роли.
- Выбрать роли с помощью чекбоксов ()
- Нажать кнопку удаления (
 ), расположенную на панели над таблицей ролей.
 - В открывшемся модальном окне подтвердить удаление ролей.
Группы пользователей
Функционал:
- Создание/редактирование/удаление групп
- Добавление пользователей в группы
При добавлении новых пользователей в группу указанные в группе дополнительные права суммируются с правами роли пользователя.
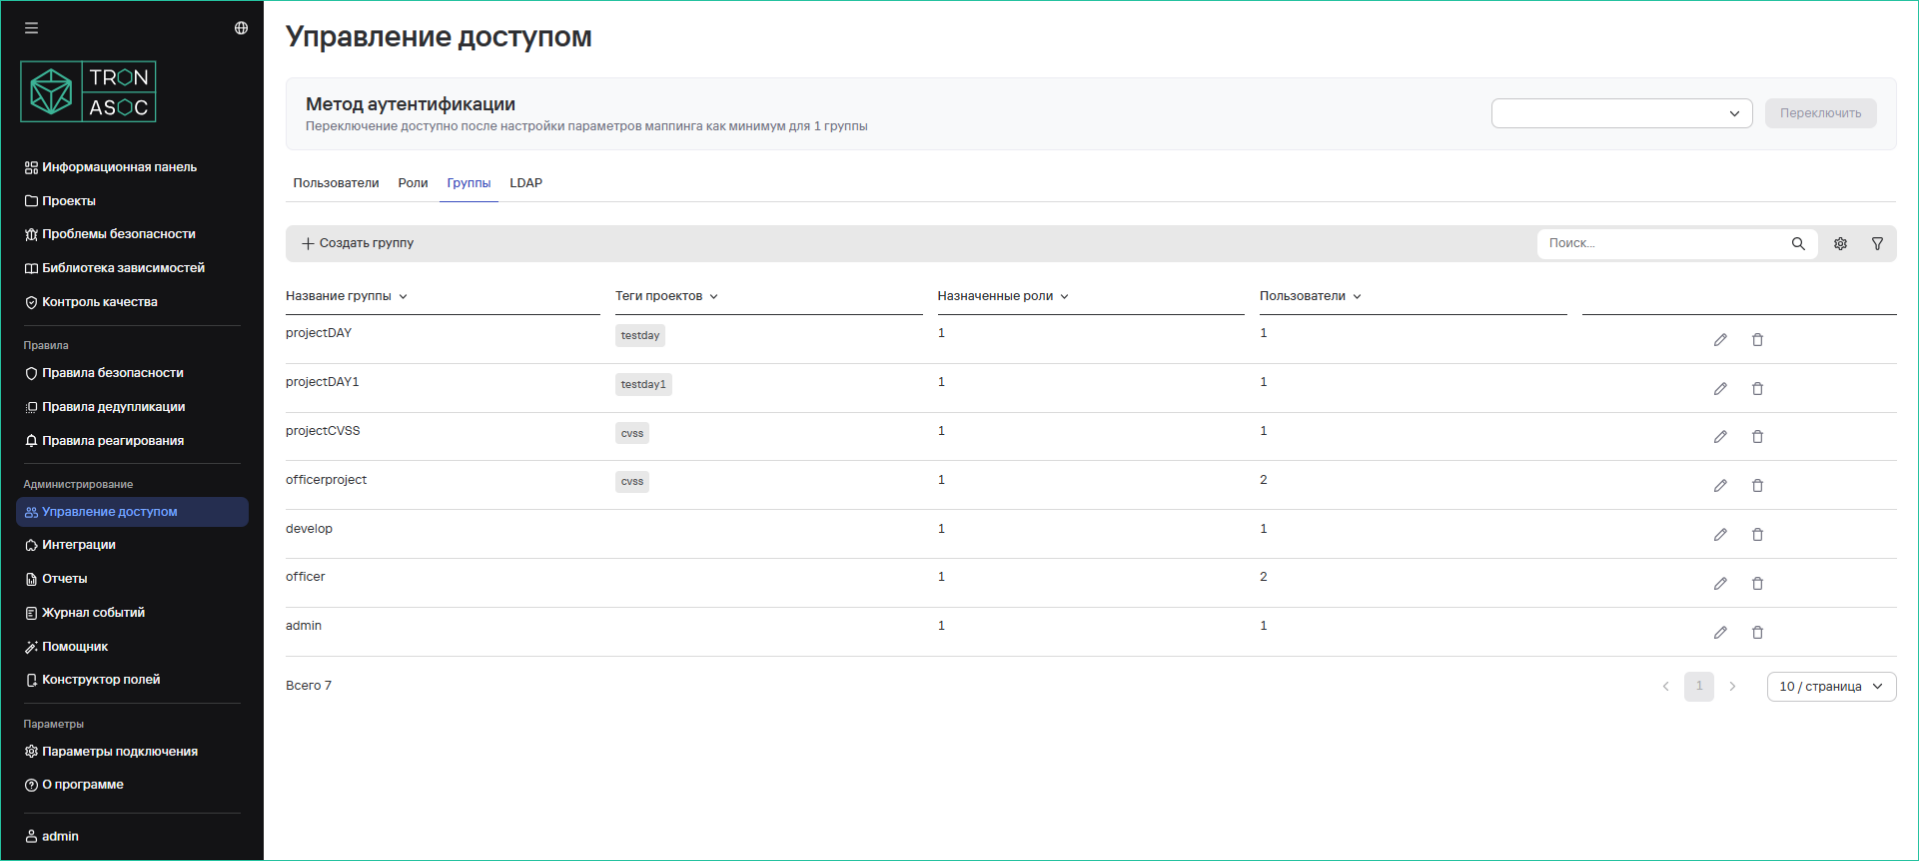
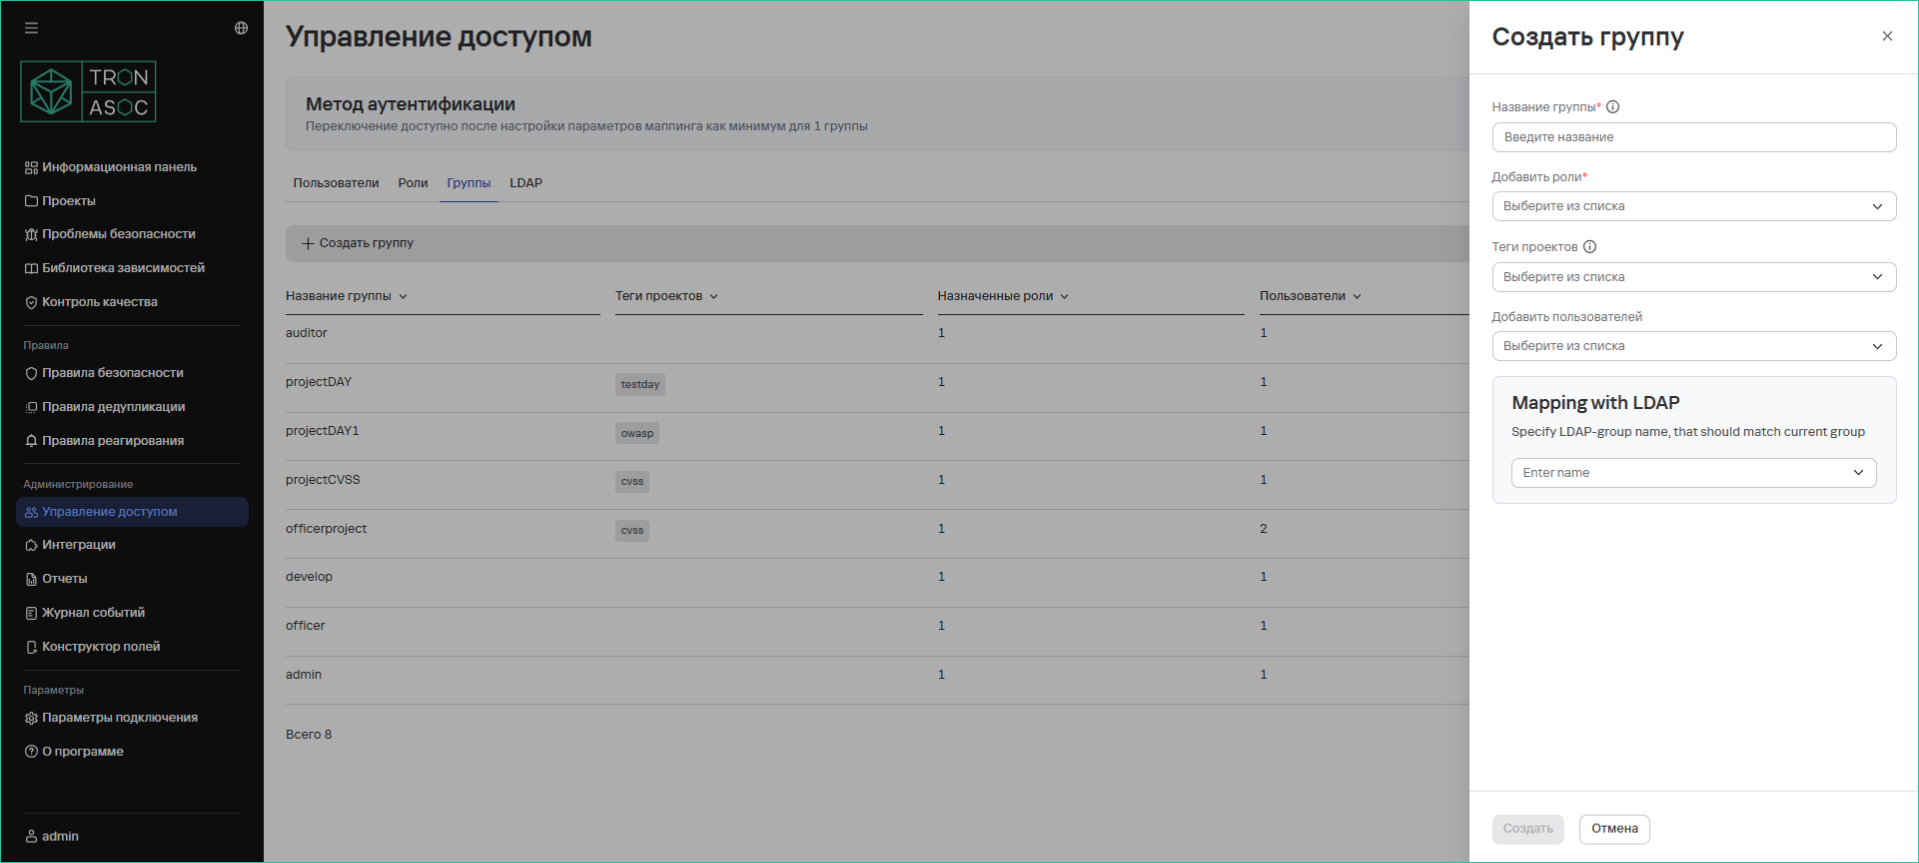
Создание группы пользователей
Для создания группы необходимо выполнить следующие шаги:
-
В разделе Управление доступом во вкладке Группы нажать на кнопку Создать группу
-
В открывшейся форме заполнить:
- Название группы
- Роли
- Теги проектов
- Пользователи
-
Настроить маппинг с LDAP (при необходимости)
Для того, чтобы добавить группу LDAP, необходимо добавить интеграцию с LDAP/AD (см. ниже Аутентификация в LDAP), после чего группа LDAP/AD появится в списке групп блока Маппинг с LDAP.
- Нажать на кнопку Создать
Удаление одной или нескольких групп пользователей
Для удаления одной группы необходимо выполнить следующие шаги:
- В разделе Управление доступом → Группы нажать кнопку дополнительных действий () возле необходимой группы.
- Выбрать вариант Удалить.
- В открывшемся модальном окне подтвердить удаление группы пользователей.

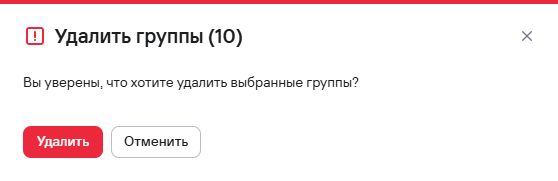
Для удаления нескольких групп необходимо выполнить следующие шаги:
- В разделе Управление доступом → Группы выбрать группы с помощью чекбоксов ()
- Нажать кнопку удаления (), расположенную на панели над таблицей групп пользователей.
- В открывшемся модальном окне подтвердить удаление групп пользователей.
Аутентификация в LDAP
Вкладка LDAP предназначена для удобного и безопасного управления пользователями и их доступом, используя интеграцию с LDAP или AD.
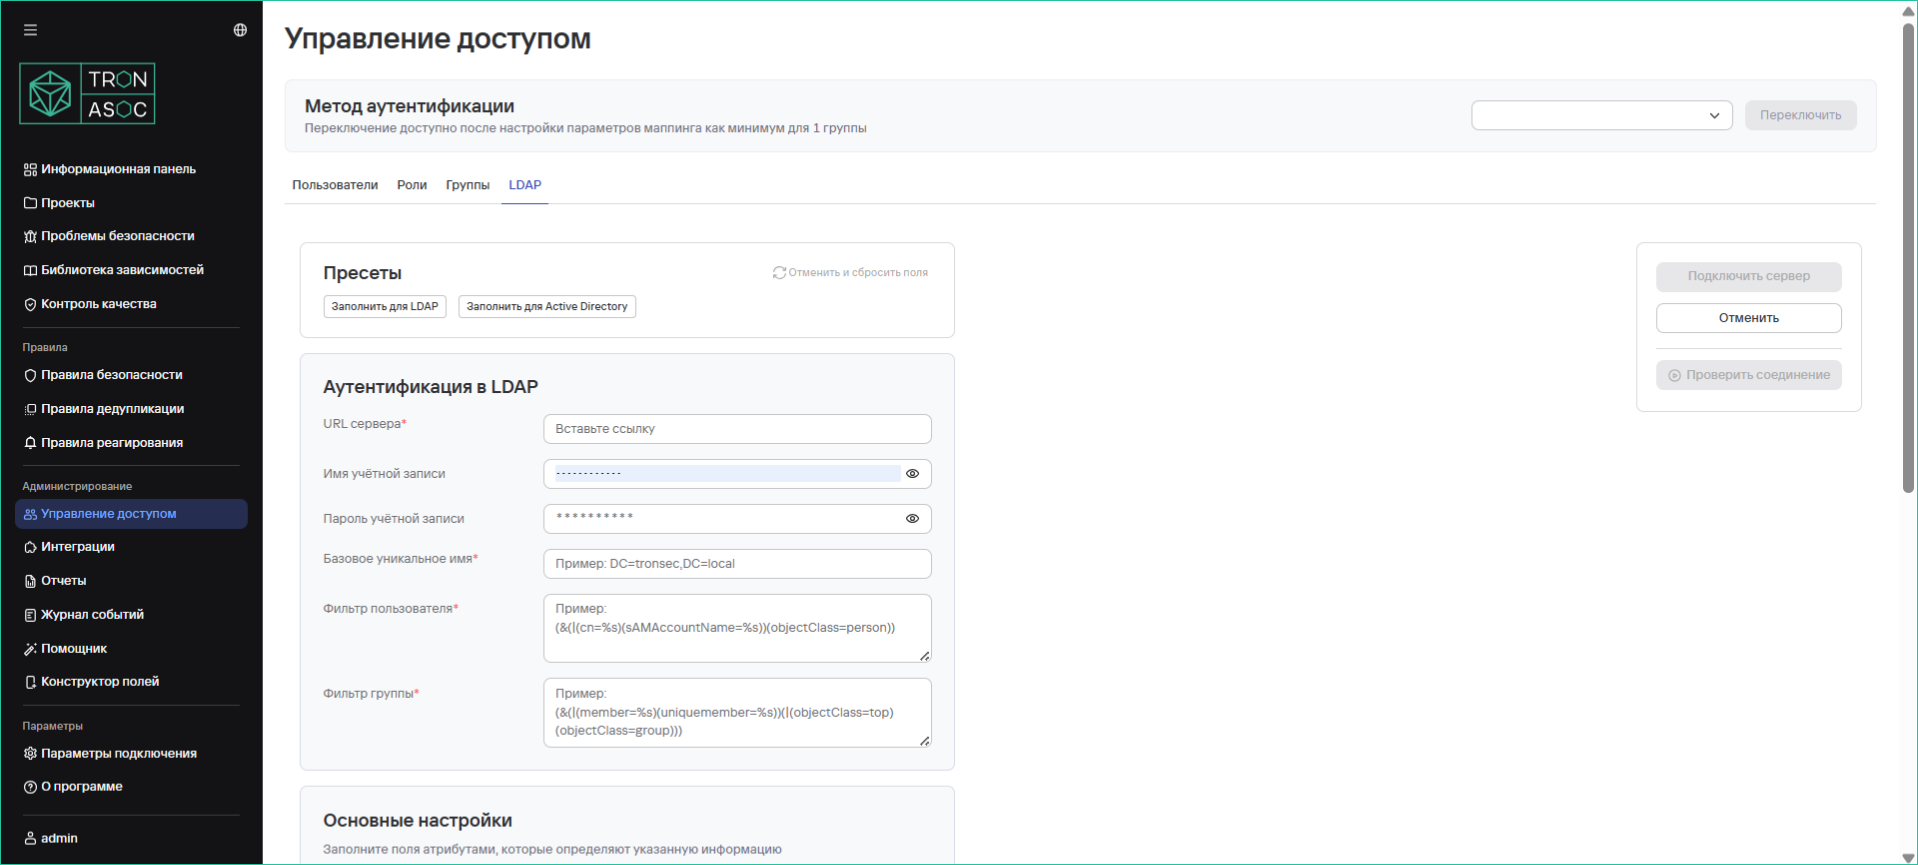
Для настройки необходимо выполнить следующие шаги:
- В разделе Управление доступом во вкладке LDAP выбрать пресет (LDAP или Active Directory)
- Заполнить параметры:
- URL сервера
- Имя учетной записи - имя учетной записи, используемой для аутентификации при подключении к LDAP-серверу
- Пароль учетной записи - пароль учетной записи LDAP.
- Базовое уникально имя - основной контекстный путь (Base Distinguished Name), где будут выполняться запросы LDAP.
- Фильтр пользователя - фильтр поиска пользователя
- Фильтр группы - фильтр поиска группы
- Название орг.единицы - атрибут, который определяет организационную единицу пользователя
- Уникальное имя - атрибут, который определяет дистинктивное имя (DN) пользователя или группы
- Имя пользователя
- Фамилия пользователя
- Название группы
- Логин пользователя
- Email пользователя
- Член группы
- Группы пользователя
- Проверить правильность настройки и подключение к серверу LDAP, нажав кнопку Проверить соединение.
Проверка соединения доступна только в случае, если пользователь ранее корректно ввел данные для аутентификации. При правильно заполненных полях статус проверки должен быть успешным. Если соединение не установлено, нужно проверить корректность введенных данных и повторить попытку.
- Нажать кнопку Сохранить.
При повторной проверке соединения используются данные Имени учётной записи и Пароля учётной записи, которые введены в последней сохраненной успешной проверке соединения. При редактировании учетных данных соединения появляется возможность их посмотреть и проверить правильность ввода.
Аутентификация SSO
Подраздел SSO предназначен для настройки и управления пользователями и их доступом, используя интеграцию с IdP (Identity Provider) сервисами (Например, с помощью сервисов Identity Blitz, Keycloak).
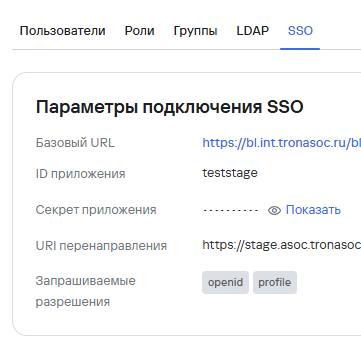
Для настройки необходимо заполнить следующие параметры подключения в соответствии с данными из сервиса IdP:
- Базовый URL - URL сервиса
- ID приложения - ID сервиса
- Секрет приложения - ключ/секрет клиента из сервиса
- URI перенаправления - URL-адрес перенаправления после завершения процесса аутентификации и авторизации (TRON.ASOC)
- Запрашиваемые разрешения - параметры, которые определяют, какие данные и разрешения получит приложение после аутентификации (параметры “sub” и “email” должны запрашиваться, и не могут быть удалены). Также необходимо создать роли и группы для Маппинга SSO. Подробнее см. Метод Аутентификации ниже.
Для успешной настройки рекомендуется воспользоваться документацией сервисов IdP.
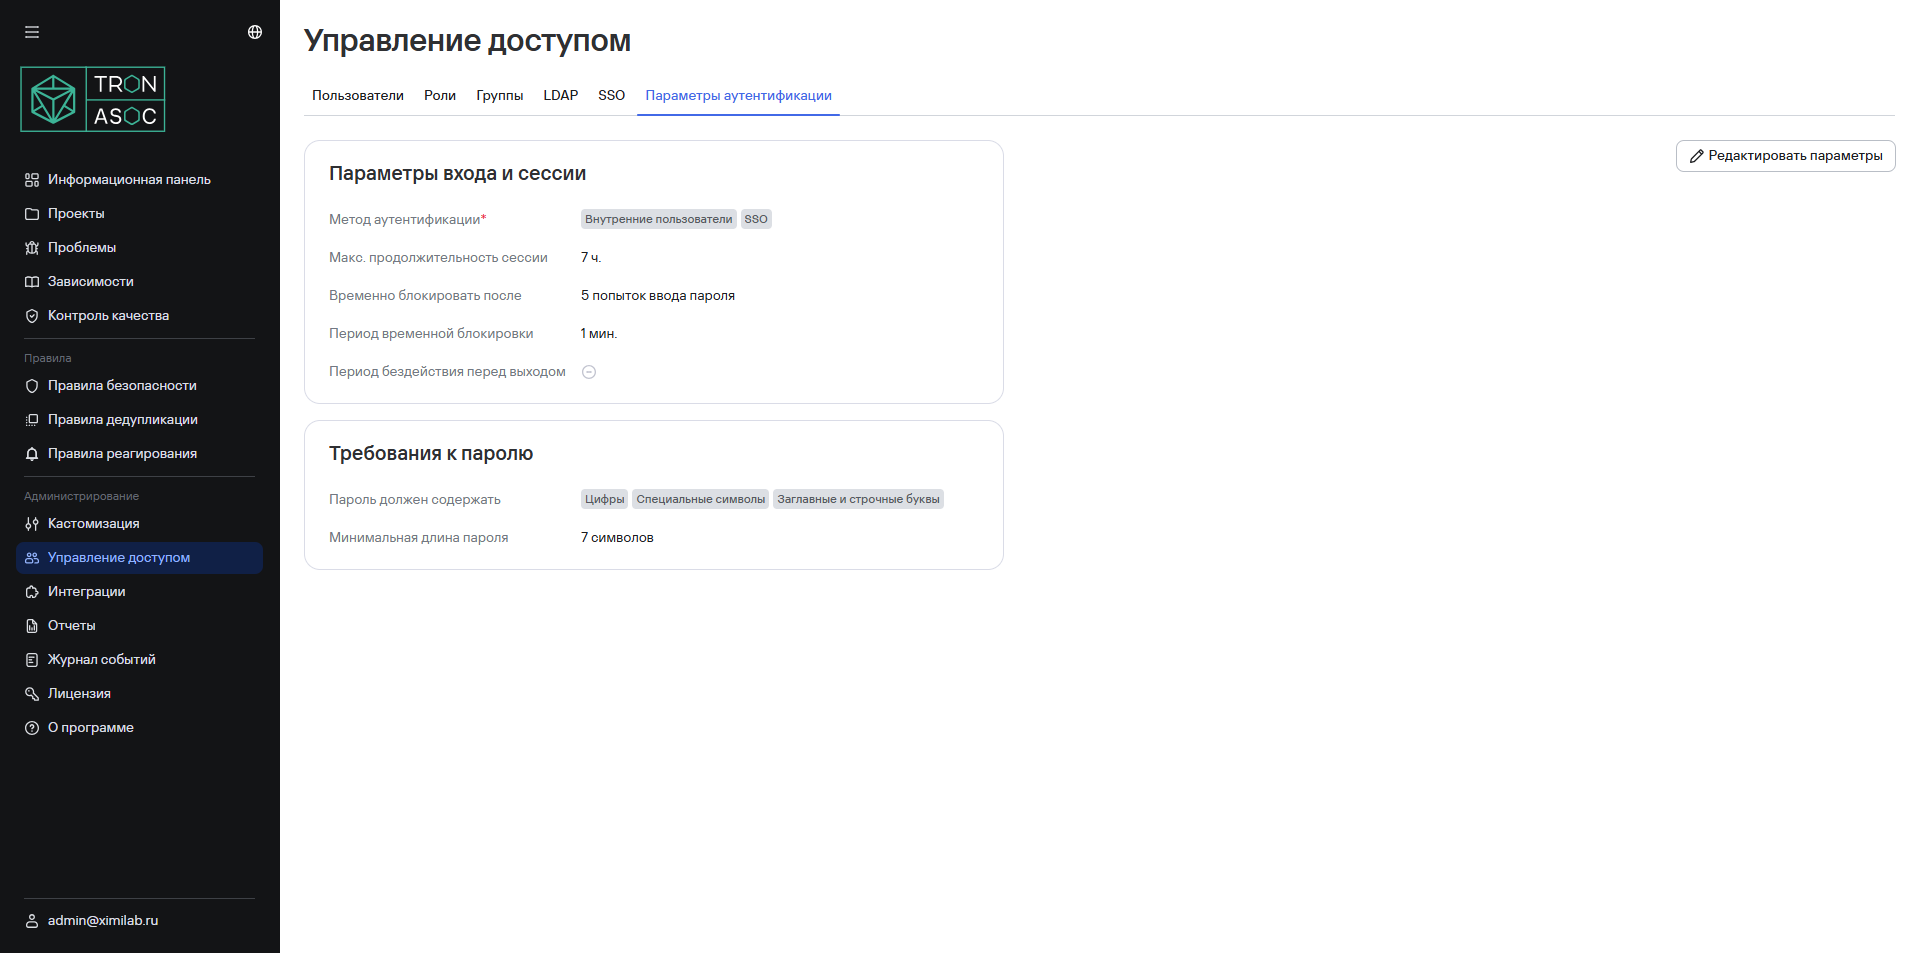
Методы аутентификации
Во вкладке Методы аутентификации отображаются параметры входа и сессии, а также требования к паролю, установленные администратором системы.
Настройка метода аутентификации
После настройки доступов необходимо выбрать требуемый метод/сочетание методов аутентификации из представленных ниже:
- Внутренние пользователи
- LDAP
- SSO
Для использования только внутренних пользователей необходимо выбрать метод аутентификации Внутренние пользователи.
Для использования LDAP/AD или SSO после выполнения необходимых настроек аутентификации (см. разделы выше) необходимо выполнить следующие шаги:
- В разделе Управление доступом → Группы добавить хотя бы одну группу (или отредактировать существующую) с настроенной связью с LDAP/SSO-группой (блок Маппинг с LDAP/Маппинг с SSO).
- В случае настройки SSO, необходимо также добавить хотя бы одну роль пользователя или одну группу пользователей с настроенной связью с соответствующим параметром SSO.
При добавлении новых пользователей в группу, привязанную к LDAP/SSO, указанные в группе права суммируются с правами роли пользователя.
- Далее в блоке Метод аутентификации выбрать один или несколько из представленных методов аутентификации:
- Внутренние пользователи
- LDAP
- SSO
При выборе метода только SSO (Forced SSO), управление пользователями, ролями с помощью внутренней учетной записи admin будут недоступны.
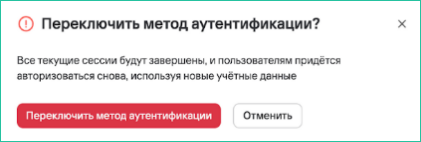
- Далее необходимо убедиться в правильности введенных данных и нажать кнопку Переключить.
Важно! При смене метода аутентификации произойдет закрытие сессии у всех пользователей, и дальнейшая авторизация будет осуществляться в соответствии с выбранным методом.
Для авторизации по SSO на странице авторизации необходимо нажать на кнопку Или продолжить через SSО.
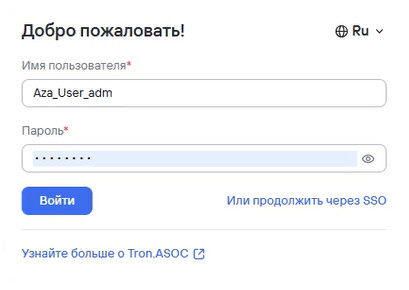
После чего произойдет перенаправление на страницу авторизации сервиса SSO (Например, с сервисами Identity Blitz, Keycloak).
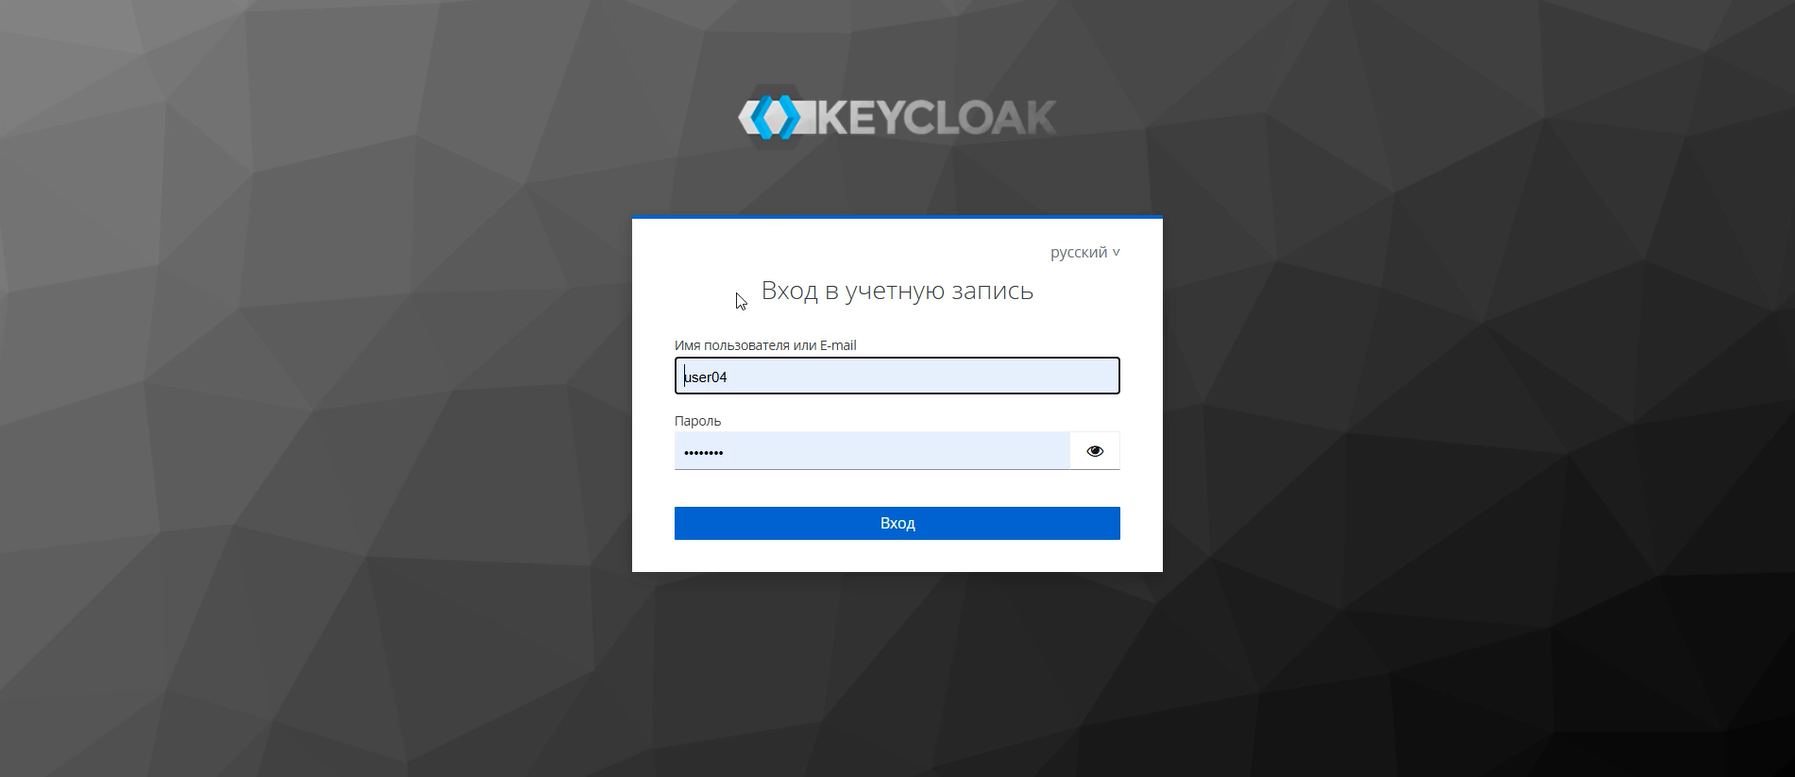
Далее необходимо войти с помощью учетных данных пользователя IdP сервиса. При успешной авторизации откроется Информационная панель TRON.ASOC.
В случае проблем с подключением к SSO, рекомендуется обратиться в техподдержку TRON.ASOC или, при необходимости, воспользоваться экстренным восстановлением доступа к системе ASOC. Подробнее см. Экстренное восстановление доступа.
Настройки маппинга при интеграции c сервисами SSO
При интеграции системы с сервисами SSO пользователь может настроить маппинг полей вручную.
Для настройки маппинга необходимо выполнить следующие шаги:
- Перейти в раздел Управление доступом → SSO.
- Нажать кнопку Редактировать соединение.
- Заполнить следующие поля:
- Имя пользователя;
- Фамилия;
- Отображаемое имя;
- Группа;
- Роль.
- При необходимости, установить чекбокс в поле Извлекать CN из DN групп.
- Нажать кнопку Сохранить изменения.
В случае, если значения полей не заполнены пользователем, используется маппинг полей по умолчанию.
Маппинг полей по умолчанию при интеграции ASOC сервисами SSO представлен в таблице ниже.
| Атрибуты пользователя сервиса SSO | Атрибуты пользователя ASOC | Значение | Обязательный |
|---|---|---|---|
sub | username | Имя пользователя | Да |
email | email | Адрес электронной почты | Да |
| - | password (В ASOC генерируется случайный пароль при создании учетной записи) | Пароль | Да |
family_name + given_name | display_name | Отображаемое имя (Имя + Фамилия) | Нет |
groups.name | Group | Группа | Нет |
roles | Role | Роль | Нет |
Редактирование параметров аутентификации
Во вкладке Параметры аутентификации раздела Управление доступом