Инструменты безопасности
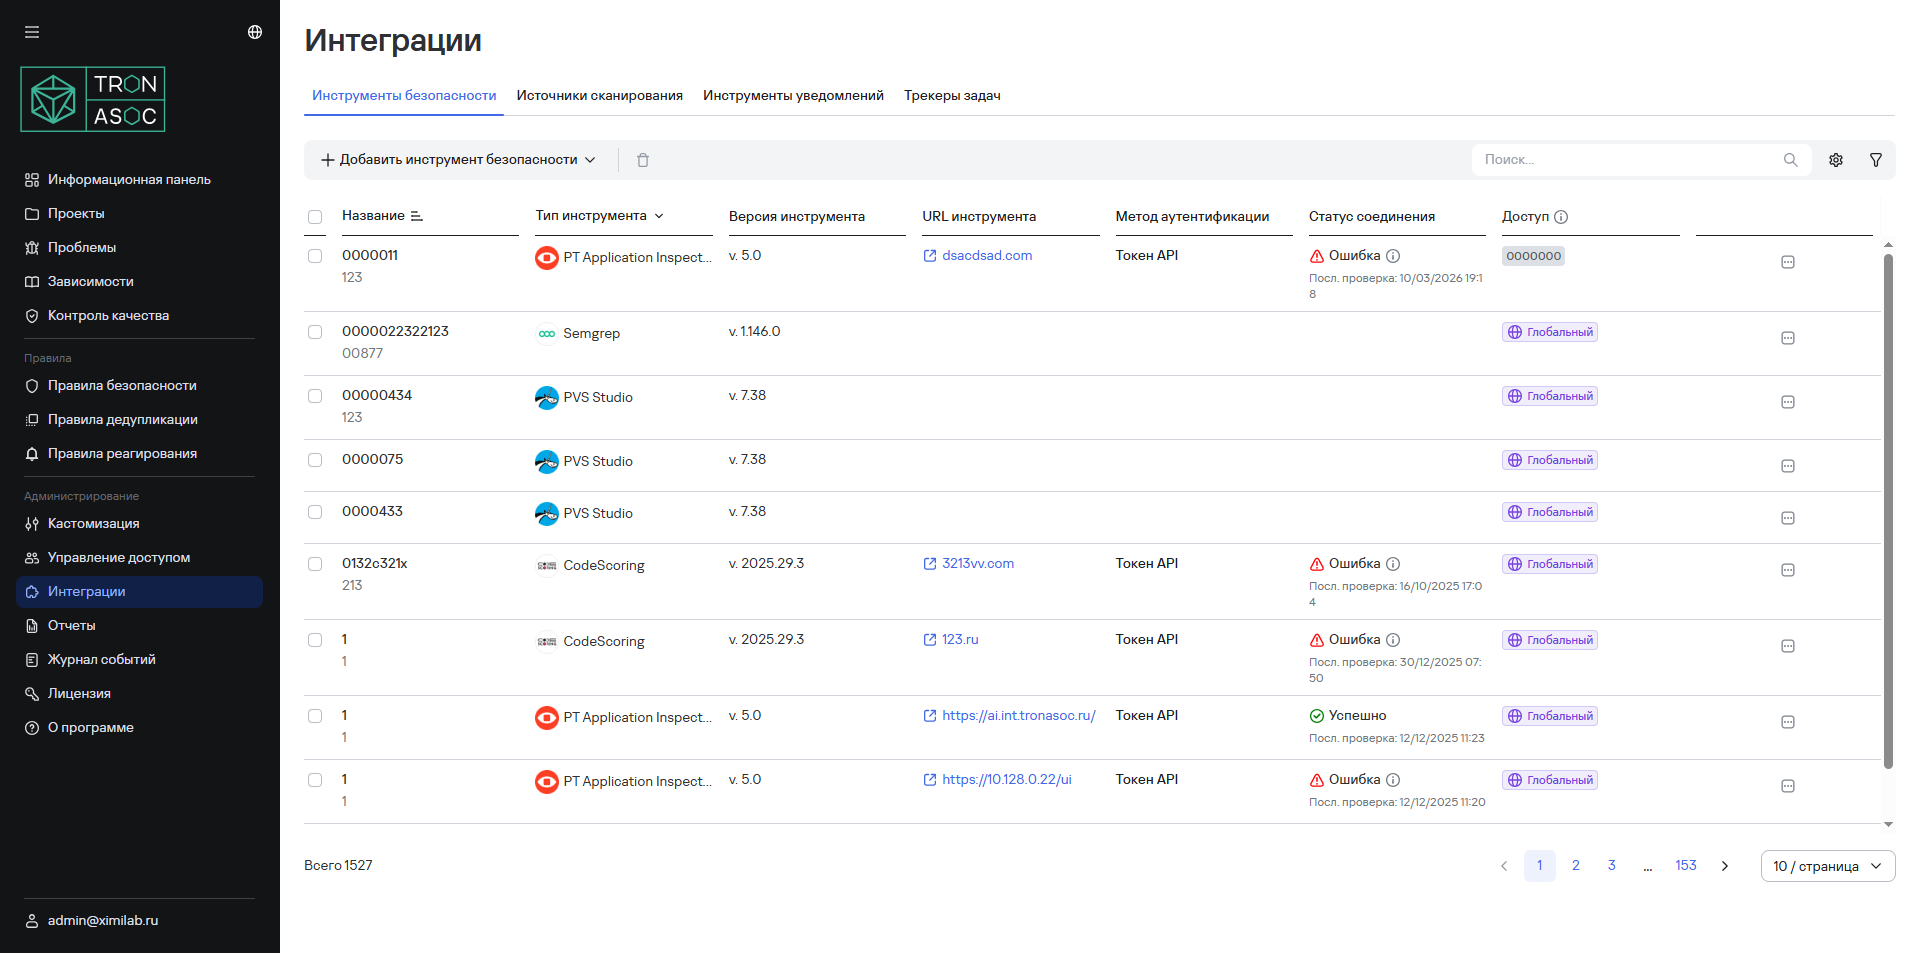
Просмотр всех подключенных инструментов безопасности доступен в разделе Интеграции → Инструменты безопасности.
Отображение списка инструментов безопасности можно настраивать по следующим фильтрам:
- Тип инструмента;
- Версия инструмента;
- Статус соединения.
Кроме того, в разделе можно добавлять новые инструменты безопасности., редактировать и удалять существующие.
Доступные инструменты и их версии
Список поддерживаемых инструментов безопасности, их версии, а также особенности работы представлены в таблице ниже:
| Инструмент | Версия |
|---|---|
| PT Application Inspector | 5.0 |
| Kaspersky Container Security | 2.3 |
| Solar AppScreener | 3.15.5 |
| Aqua | 2022.4.759 |
| CodeScoring | 2025.29.3 |
| Grype | 0.106.0 |
| KICS | 2.1.19 |
| OWASP Dependency Track | 4.12.1 |
| Trivy | 0.68 |
| Semgrep | 1.146.0 |
| ESLint | 9.39.2 |
| PVS-Studio | 7.38 |
| GitLab Advanced SAST | 3.0.0 |
| AppSec.Sting | 2025.5 |
| AppSec.Track | 3.19 |
| Gitleaks | 8.30.0 |
| SASTAV | 2.4.0 |
При создании проверки безопасности с помощью Solar AppScreener можно выбрать тип анализа (SAST, DAST или SCA).
Особенности работы с SASTAV
При работе с SASTAV необходимо учитывать следующие моменты:
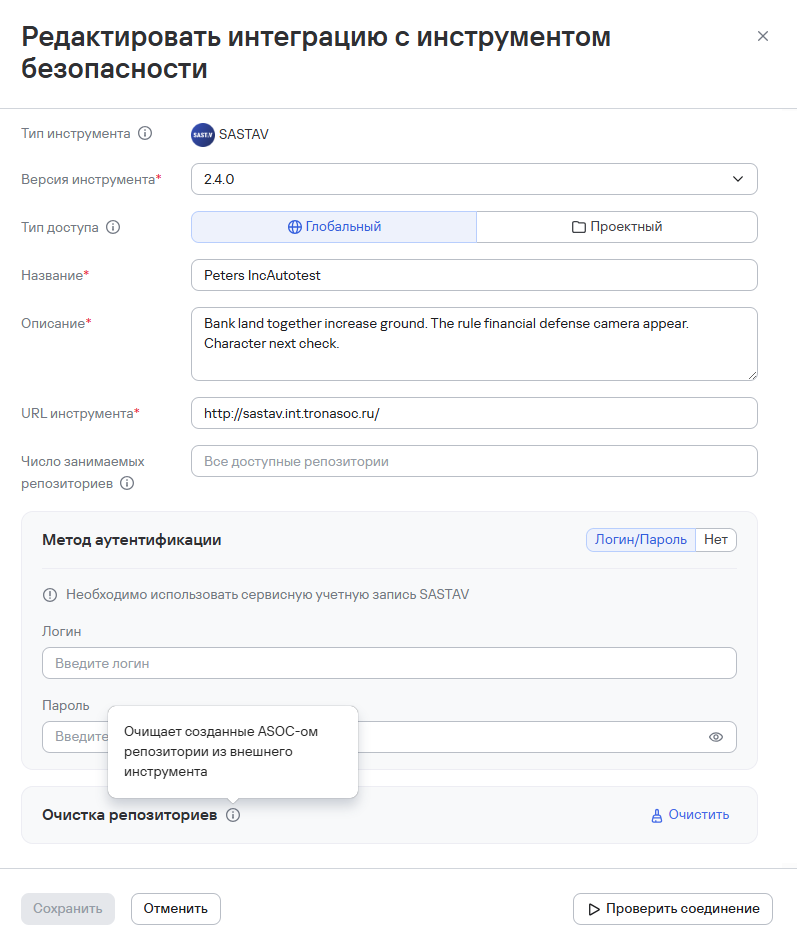
- При авторизации в рамках настройки интеграции с SASTAV необходимо использовать сервисную учетную запись SASTAV.
- При работе с SASTAV репозитории должны быть уникальными в рамках всех проектов системы. При создании проверок безопасности с идентичными источниками сканирования в разных проектах в SASTAV будет создан только один репозиторий.
- Результаты сканирования из общего репозитория SASTAV формируются в соответствующих проверках безопасности/проектах на этапе парсинга отчетов.
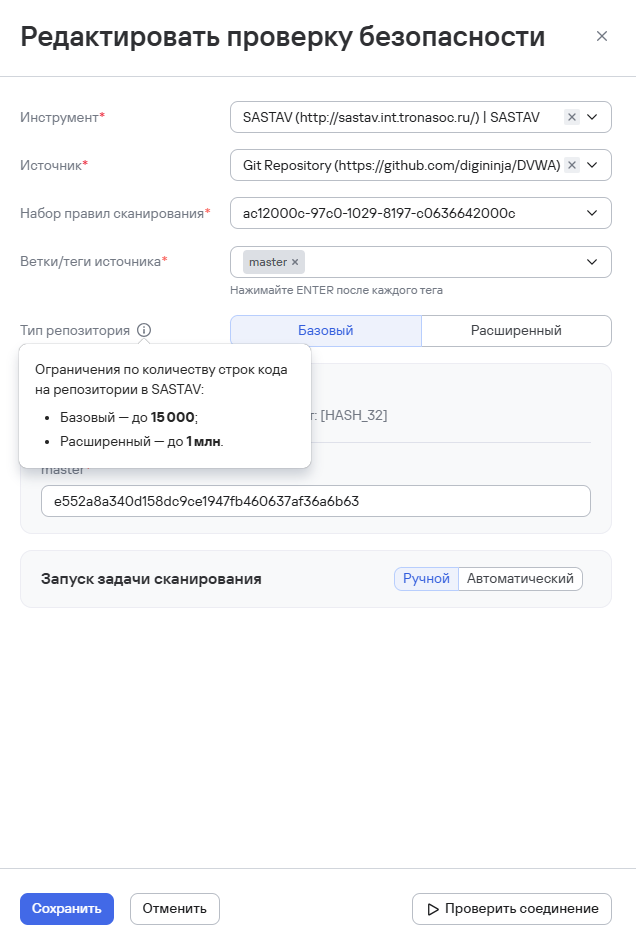
- При редактировании проверки безопасности доступен выбора типа репозитория:
- Базовый — содержит ограничение по количеству строк кода до 15 000;
- Расширенный — содержит ограничение по количеству строк кода до 1 млн. Это значение установлено по умолчанию.
- По причине технических ограничений на количество SASTAV-репозиториев в TRON ASOC предусмотрена возможность указать максимальное число репозиториев. Для этого в настройках интеграции с SASTAV доступен параметр Максимальное количество репозиториев. При указании числового значения система контролирует количество активных репозиториев. Если значение параметра не задано, применяется максимальный лимит, доступный по лицензии SASTAV.
- Также доступна очистка SASTAV-репозиториев, созданных TRON ASOC. Возможна как очистка репозиториев вручную, так и автоматическая очистка (например, при удалении проверки безопасности удаляется связанный SASTAV-репозиторий, если он больше не используется в проверках безопасности в TRON ASOC).
Подключение инструментов безопасности
Набор минимальных прав доступа для настройки инструментов безопасности:
- Просмотр инструментов
- Управление инструментами
Подробнее о настройке прав доступа см. Настройка ролей.
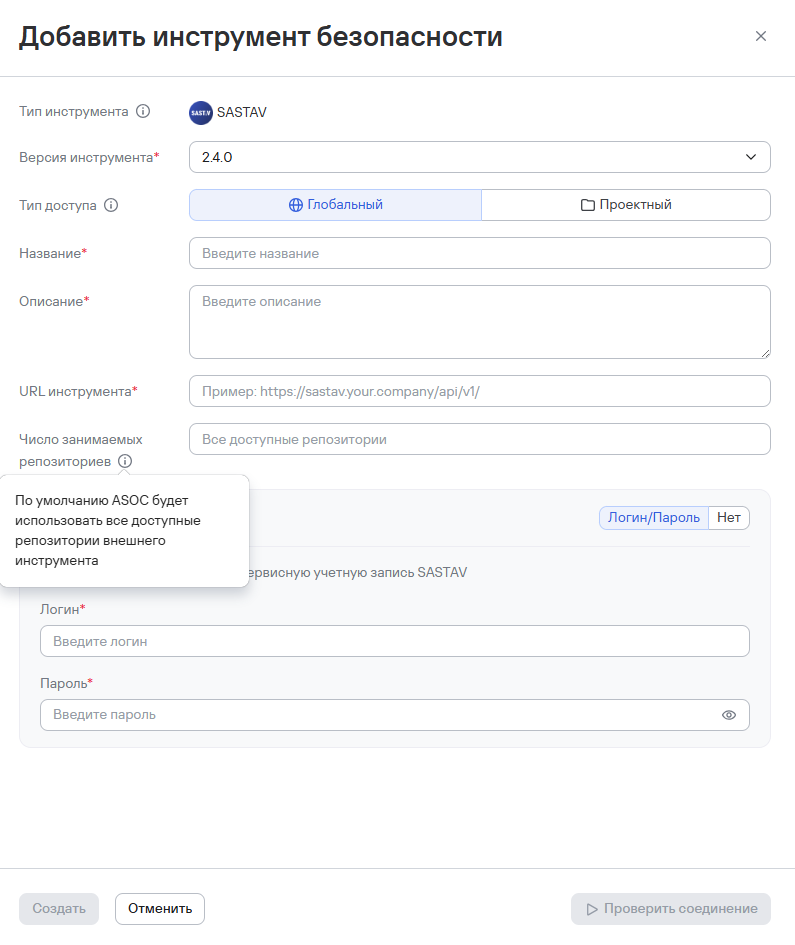
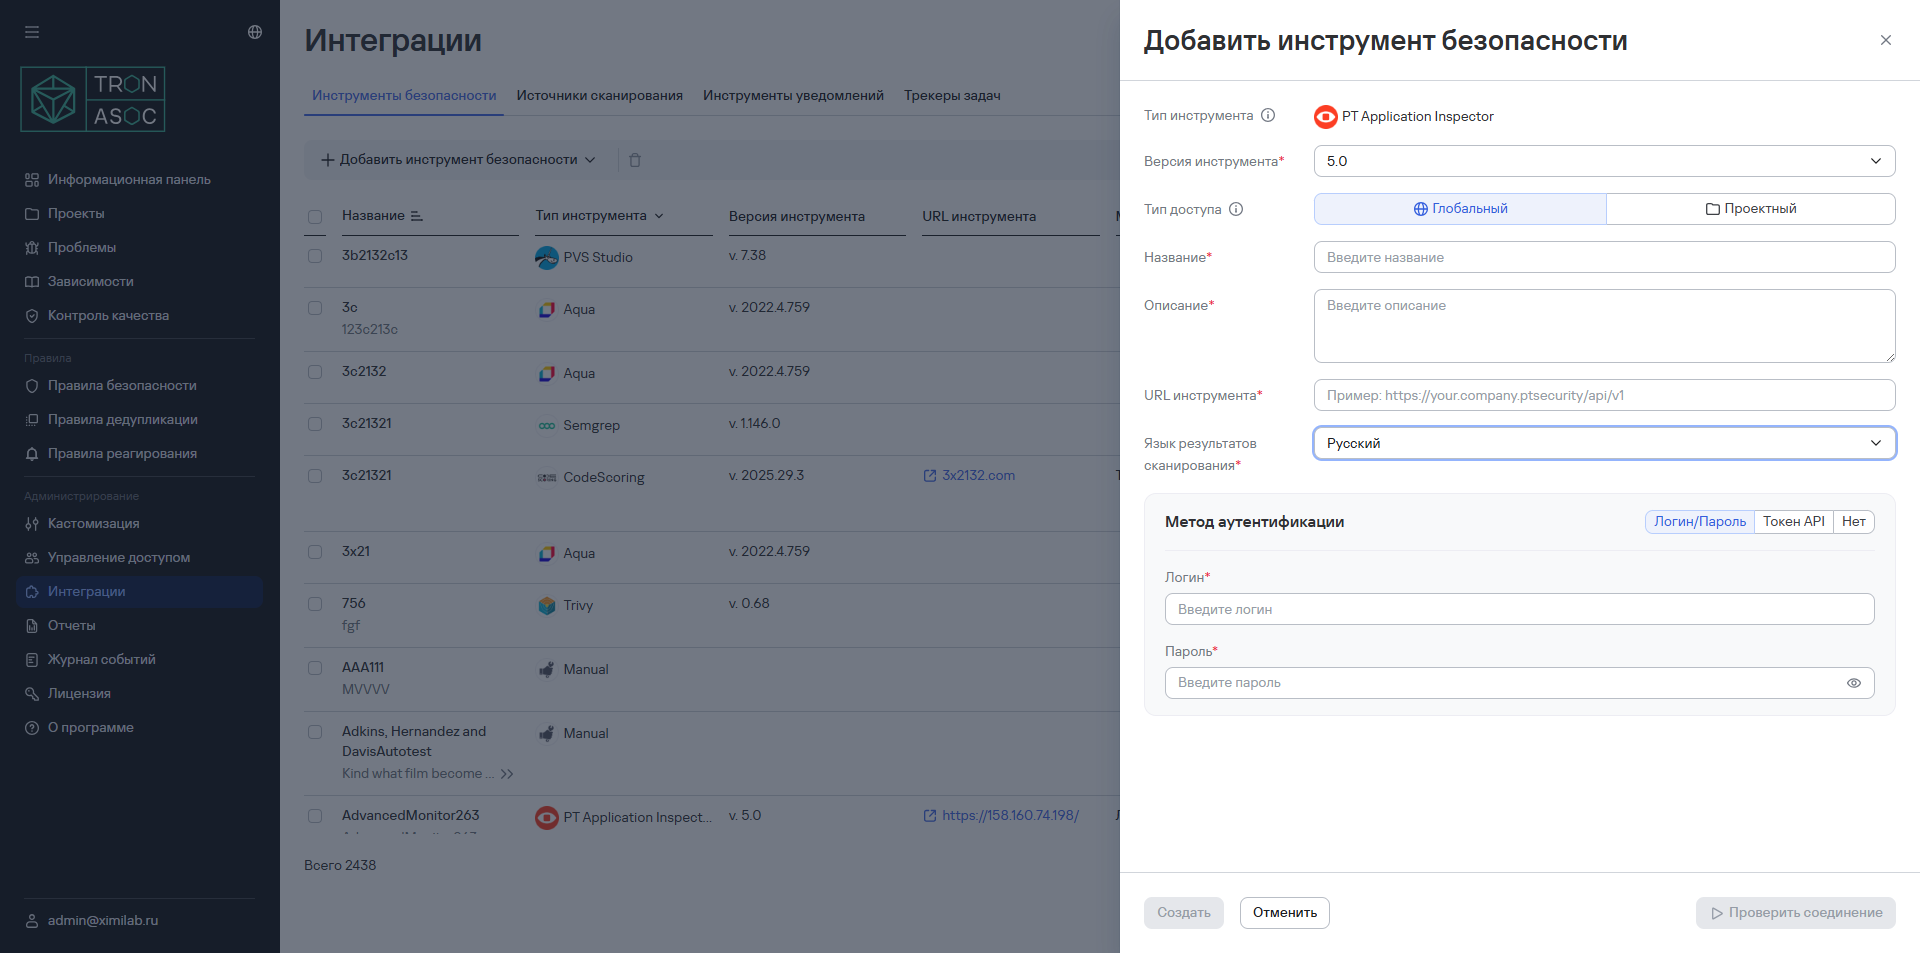
Чтобы добавить новый инструмент безопасности, необходимо выполнить следующие шаги:
- В разделе Интеграции → Инструменты безопасности нажать на кнопку Добавить инструмент безопасности
- Далее выбрать из предложенного списка интеграций необходимый инструмент безопасности.

- В открывшемся окне выбрать версию инструмента из выпадающего списка Версия инструмента.
- Заполнить обязательные поля Название, Описание.
- Выбрать тип доступа к инструменту:
- Глобальный — при выборе этого типа доступа инструмент будет доступен во всех проектах;
- Проектный — при выборе этого типа доступа инструмент будет доступен только в выбранных проектах. При выборе этого типа доступа также необходимо выбрать один или несколько проектов, в которых инструмент будет доступен.
- В зависимости от инструмента заполнить дополнительные поля:
- Описание инструмента
- URL
- Язык результатов сканирования
- Метод аутентификации
info
Выбор метода аутентификации на этом шаге не является обязательным, но без заполнения метода аутентификации нельзя проверить соединение с инструментом. Поля для заполнения далее могут отличаться в зависимости от выбора метода аутентификации.
- Заполнить поля в зависимости от выбранного метода аутентификации:
-
API-токен: поле API Токен
-
Логин/пароль: поля Логин и Пароль
-
Нет. Если выбран метод аутентификации Нет, то сканирование будет недоступно, но пользователь сможет импортировать результаты сканирования вручную.
noteТакже для некоторых инструментов предусмотрены дополнительные настройки, которые основываются на полученных данных из интеграции с инструментом. Например, данные для проверки лицензии, наличии ограничений инструмента, доступности/недоступности тех или иных возможностей. Для инструмента CodeScoring могут использоваться уже существующие данные аутентификации, а также предусмотрены дополнительные параметры в настройке интеграции.
-
- При необходимости нажать кнопку Проверить соединение.
Данная опция доступна только для методов аутентификации API-токен и Логин/пароль и только в случае, если аутентификационные данные введены корректно.
- Нажать на кнопку Создать
Редактирование инструмента
Для редактирования необходимо выполнить следующие шаги:
- Нажать на кнопку редактирования (
 ) в строке инструмента/
 - В открывшейся форме изменить необходимые параметры.
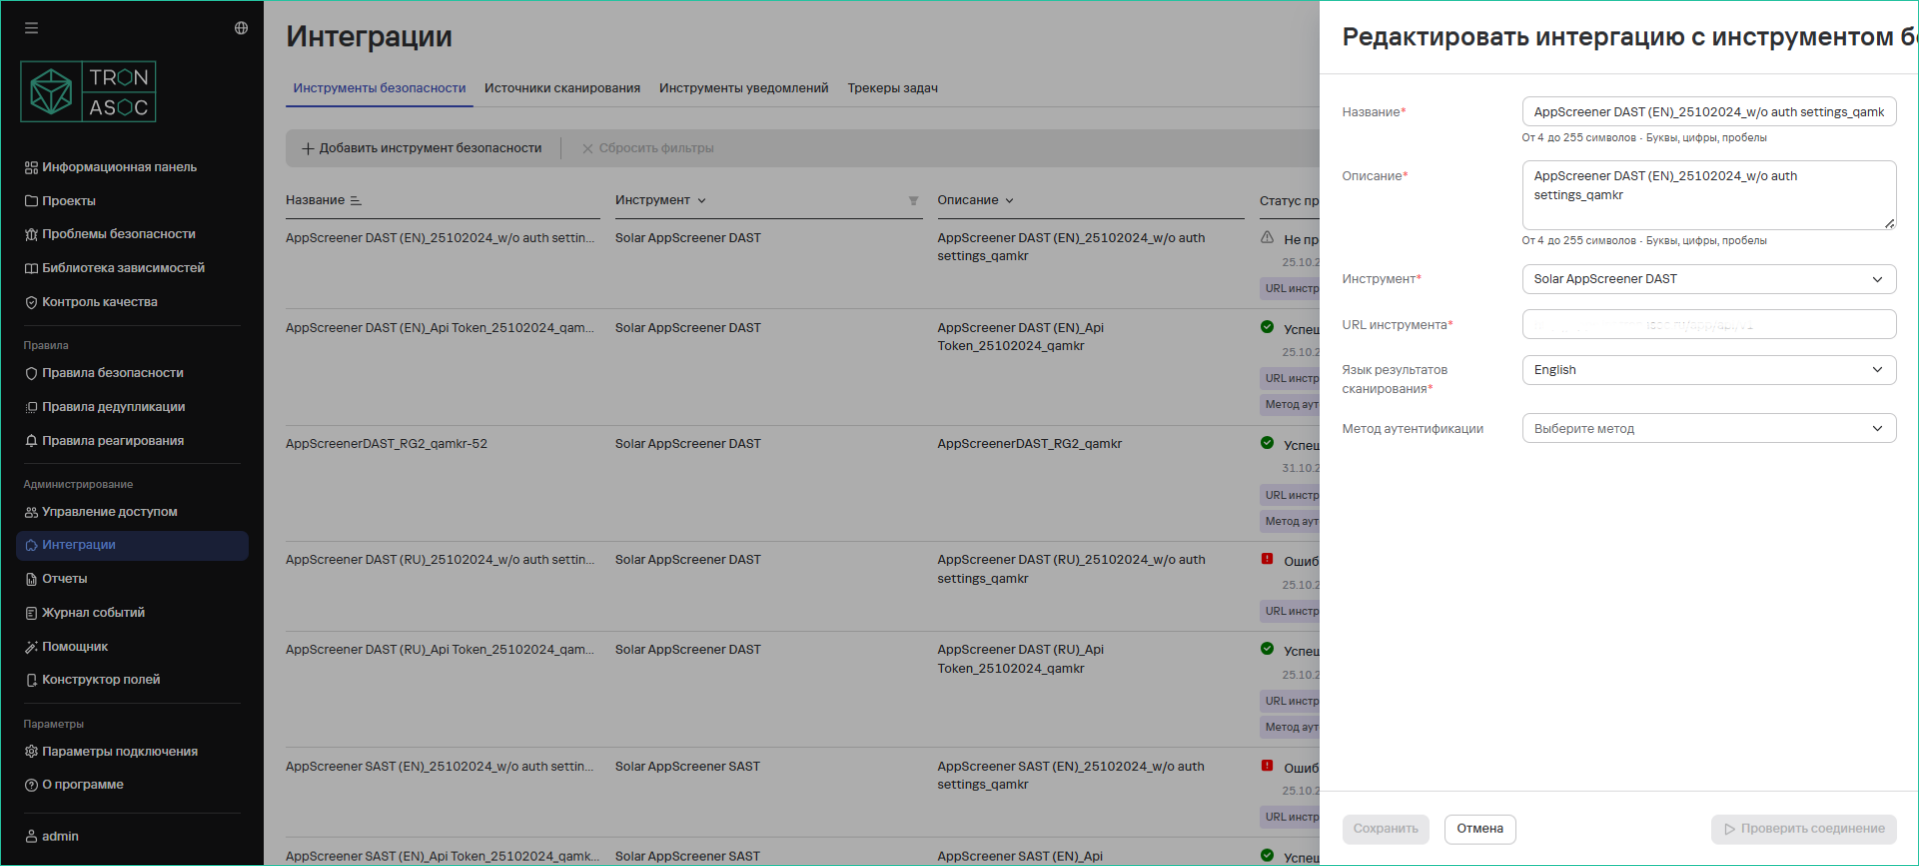
- Нажать на кнопку Сохранить
Удаление инструмента
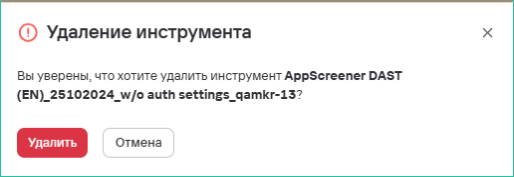
Для удаления одного инструмента необходимо выполнить следующие шаги:
- Нажать на кнопку удаления
 в строке инструмента
 - В открывшемся модальном окне подтвердить удаление инструмента.
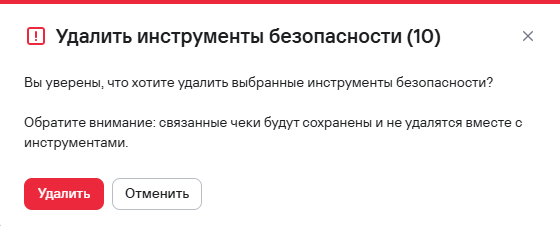
Для удаления нескольких инструментов необходимо выполнить следующие шаги:
- Выбрать инструменты с помощью чекбоксов (
 )
) - Нажать кнопку удаления (
 ), расположенную на панели над таблицей инструментов.
 - В открывшемся модальном окне подтвердить удаление инструментов.
Примеры интеграций с инструментами
Добавление инструмента PT Application Inspector
Для добавления инструмента на платформу, необходимо выполнить следующие шаги:
- Перейти в раздел Интеграции → Инструменты безопасности
- Нажать на кнопку Добавить инструмент безопасности и из предложенного списка инструментов выбрать PT Application Inspector.
- В появившейся форме заполнить поля:
- Название интеграции - например, Inspector (имя должно быть уникальным)
- Описание - для удобства идентификации, например, Positive Inspector
- Настроить параметры подключения:
- API URL - например, https://your.company.ptsecurity/api/v1
- Язык результатов сканирования
- Метод аутентификации (Login/Password, API Token или Нет (в этом случае сканирования будут недоступны, но будет возможность импортировать результаты вручную.)
info
Метод аутентификации можно указать позже при добавлении проверки безопасности
- Нажать кнопку Проверить соединение.
Проверка соединения доступна только в случае, если пользователь ранее корректно ввел данные для аутентификации. При правильно заполненных полях статус проверки должен быть успешным. Если соединение не установлено, нужно проверить корректность введенных данных и повторить попытку.
- Нажать на кнопку Сохранить
Добавление инструмента Kaspersky Container Security (KCS)
Для добавления необходимо выполнить следующие шаги:
- Перейти в раздел Интеграции → Инструменты безопасности
- Нажать на кнопку Добавить инструмент безопасности и выбрать из выпадающего списка инструмент Kaspersky Container Security.
- Заполнить обязательные поля:
- Название
- Описание
- Указать дополнительные параметры:
- URL: https://your.company.kcs/api/v1
- Язык результатов сканирования
- Метод аутентификации: API Token
info
Метод аутентификации можно указать позже при добавлении проверки безопасности
- Добавить токен в поле Токен API
- Нажать на кнопку Проверить соединение.
Проверка соединения доступна только в случае, если пользователь ранее корректно ввел данные для аутентификации. При правильно заполненных полях статус проверки должен быть успешным. Если соединение не установлено, нужно проверить корректность введенных данных и повторить попытку.
- Нажать на кнопку Сохранить