Проекты
Раздел Проекты включает список доступных проектов, которые проверяются на соответствие политикам безопасности компании и качеств. Каждый проект может иметь свои параметры безопасности и настройки. Пользователи могут настроить как один, так и несколько проектов. Также есть возможность просматривать сводную информацию по проектам, удалять, редактировать проекты в зависимости от прав доступа.
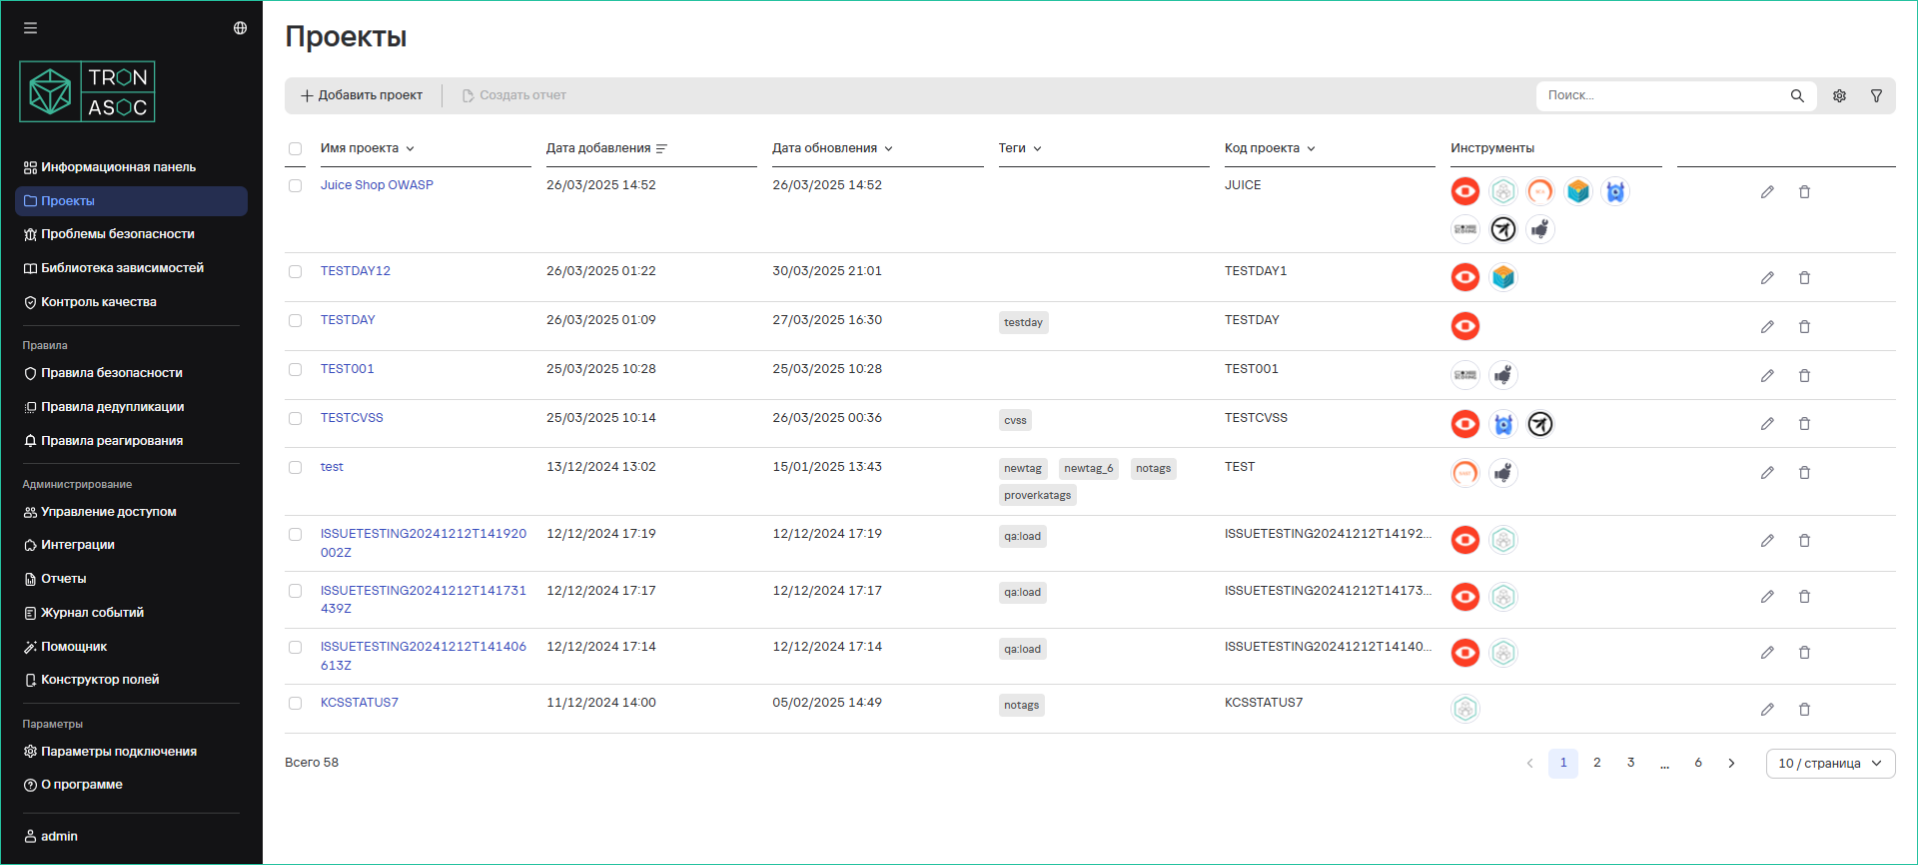
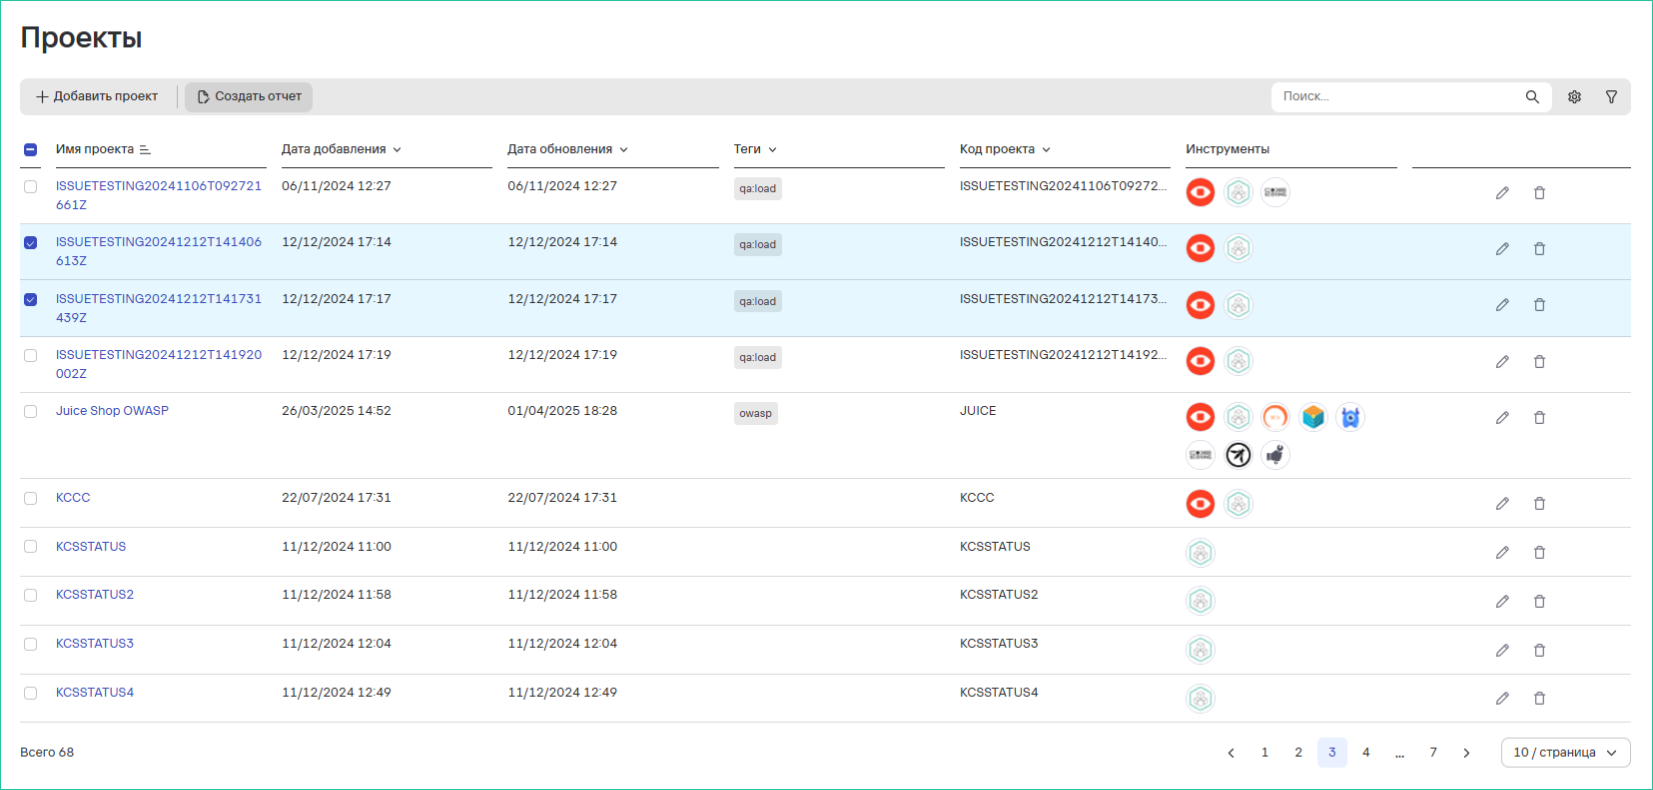
Таблица проектов содержит:
- Имя проекта
- Дата создания
- Дата обновления
- Теги
- Код проекта
- Инструменты
Действия с таблицей:
- Настройка полей
- Поиск по названию
- Фильтрация по тегам
- Сортировка по:
- Имени
- Тегу
- Коду проекта
- Просмотр деталей (клик по названию проекта)
Создание проекта
Для создания нового проекта необходимо выполнить следующие шаги:
- В разделе Проекты нажать на кнопку Добавить проект
- Заполнить форму:
- Обязательные поля:
- Код проекта
- Название проекта
- Дополнительные поля (системные и пользовательские поля, при наличии)

- Нажать на кнопку Создать
Рекомендации по заполнению некоторых полей отмечены значком рекомендации (![]() ).
Подробнее о настройке пользовательских полей см. раздел Конструктор полей.
).
Подробнее о настройке пользовательских полей см. раздел Конструктор полей.
Редактирование проекта
Для редактирования проекты необходимо выполнить один из представленных способов ниже.
Способ 1:
- В разделе Проекты в строке рассматриваемого проекта нажать на кнопку редактирования (
 )
) - Внести необходимые изменения
- Нажать кнопку Сохранить
Способ 2:
- В разделе Проекты перейти на страницу проекта (клик по названию проекта)
- Открыть вкладку Параметры проекта
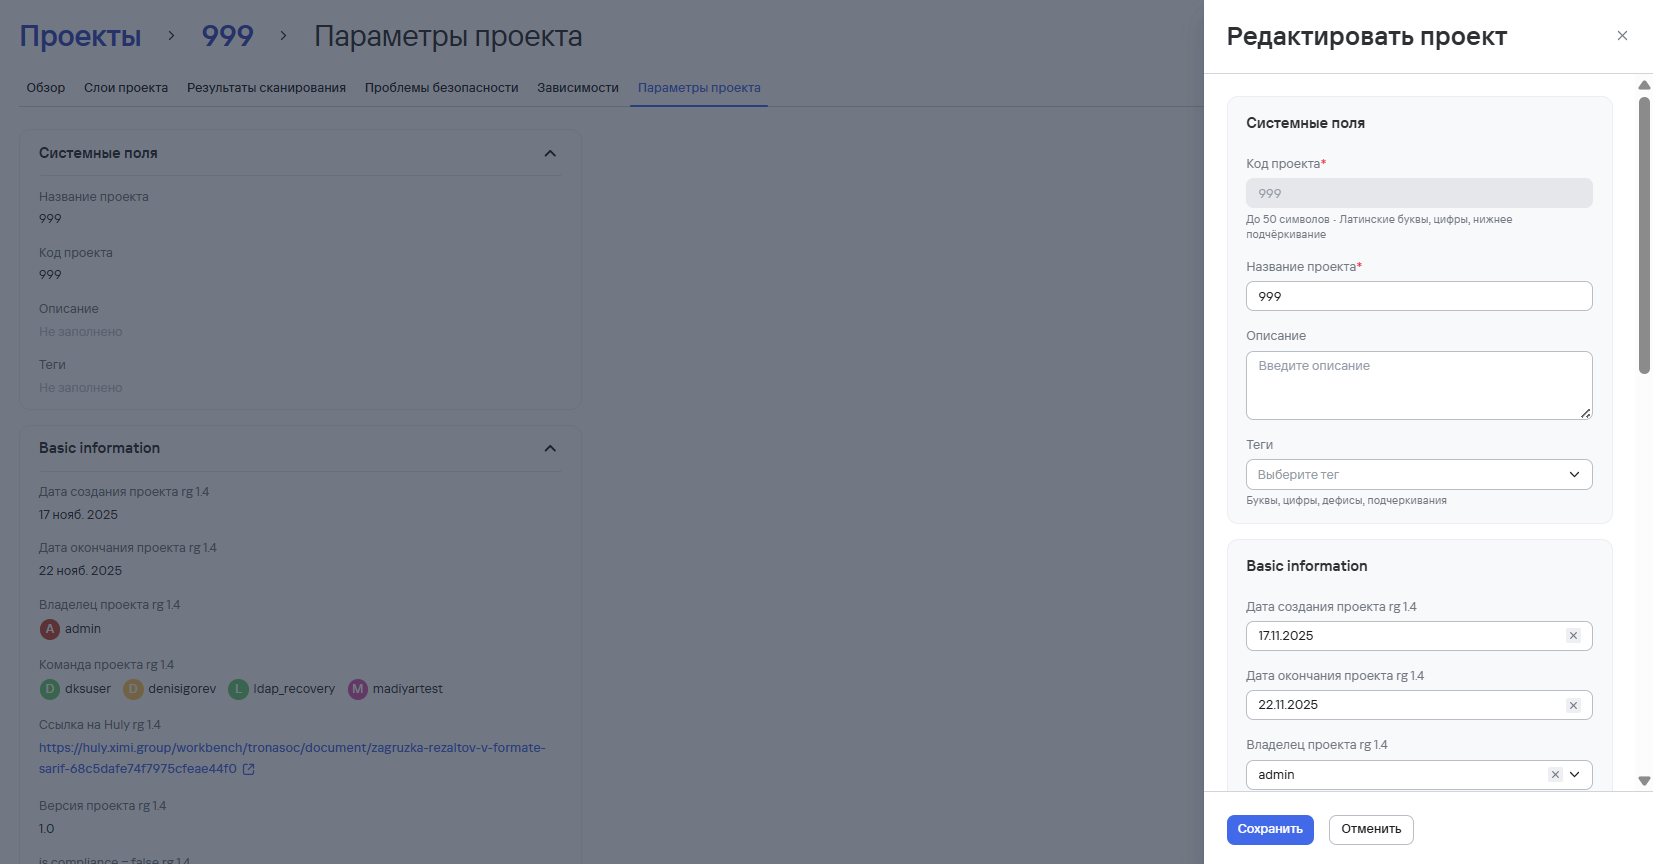
- Нажать на кнопку Редактировать проект
- Нажать на кнопку Сохранить
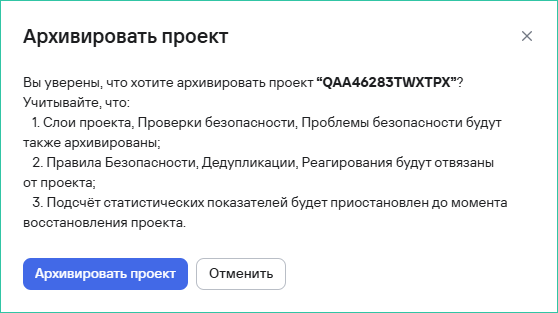
Архивация и восстановление проекта
Для архивации проекта необходимо выполнить следующие шаги:
- В разделе Проекты нажать кнопку дополнительных действий (
 ) возле необходимого проекта.
 - Выбрать вариант Архивировать.
- В открывшемся модальном окне подтвердить архивацию.
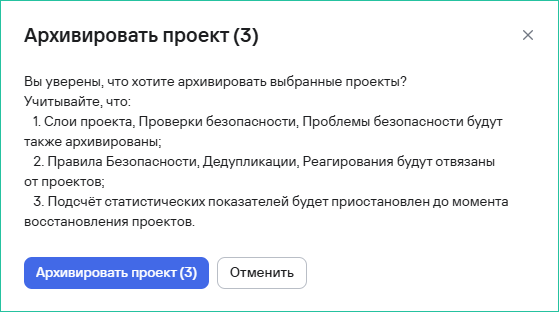
Для архивации нескольких проектов необходимо выполнить следующие шаги:
- В разделе Проекты выбрать проекты с помощью чекбоксов (
 )
) - Нажать кнопку архивации (
 ), расположенную на панели над таблицей проектов.
 - В открывшемся модальном окне подтвердить архивацию проектов.
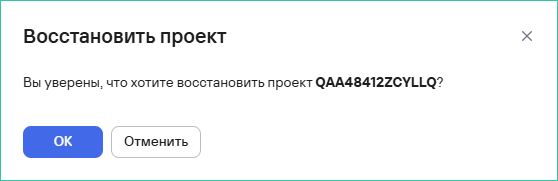
Для восстановления проекта из архива необходимо выполнить следующие шаги:
- В разделе Проекты нажать кнопку фильтрации.
- Переместить ползунок Только архивированные проекты в активное состояние.
- Нажать кнопку Применить.
- Выбрать проект из списка и нажать кнопку восстановления проекта.
- В открывшемся модальном окне подтвердить восстановление проекта.
Удаление проекта
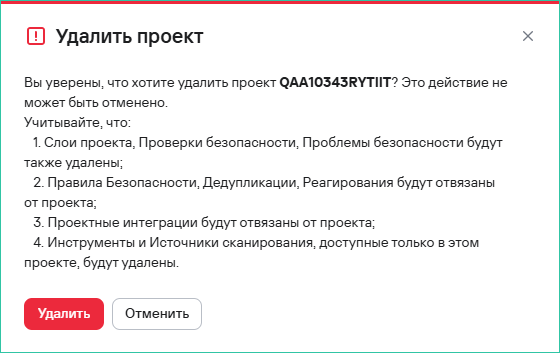
Для удаления проекта необходимо выполнить следующие шаги:
- В разделе Проекты нажать кнопку дополнительных действий () возле необходимого проекта.
- Выбрать вариант Удалить.
- В открывшемся модальном окне подтвердить удаление проекта.
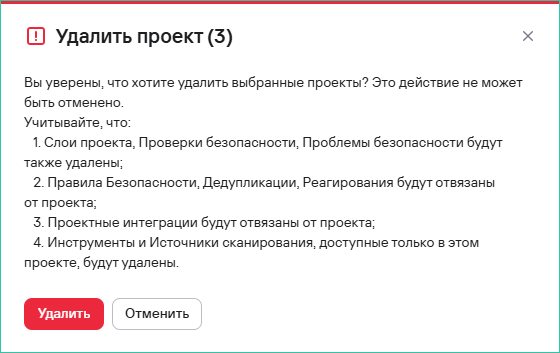
Для удаления нескольких проектов необходимо выполнить следующие шаги:
- В разделе Проекты выбрать проекты с помощью чекбоксов ()
- Нажать кнопку удаления (
 ), расположенную на панели над таблицей проектов.
 - В открывшемся модальном окне подтвердить удаление проектов.
Отчеты по проектам
В системе предусмотрены Сводный и Детализированный отчеты по проектам. Для создания отчета по проекту необходимо выполнить один из способов, представленных ниже, в зависимости от типа отчета.
Доступ к просмотру и скачиванию отчетов зависит от наличия доступа к проектам, включенным в отчет.
Сводный отчет
- В разделе Проекты выбрать проекты с помощью чекбоксов ()
- Нажать на кнопку Создать отчет
- В открывшейся форме Создать сводный отчет заполнить параметры и необходимые фильтры для отчета
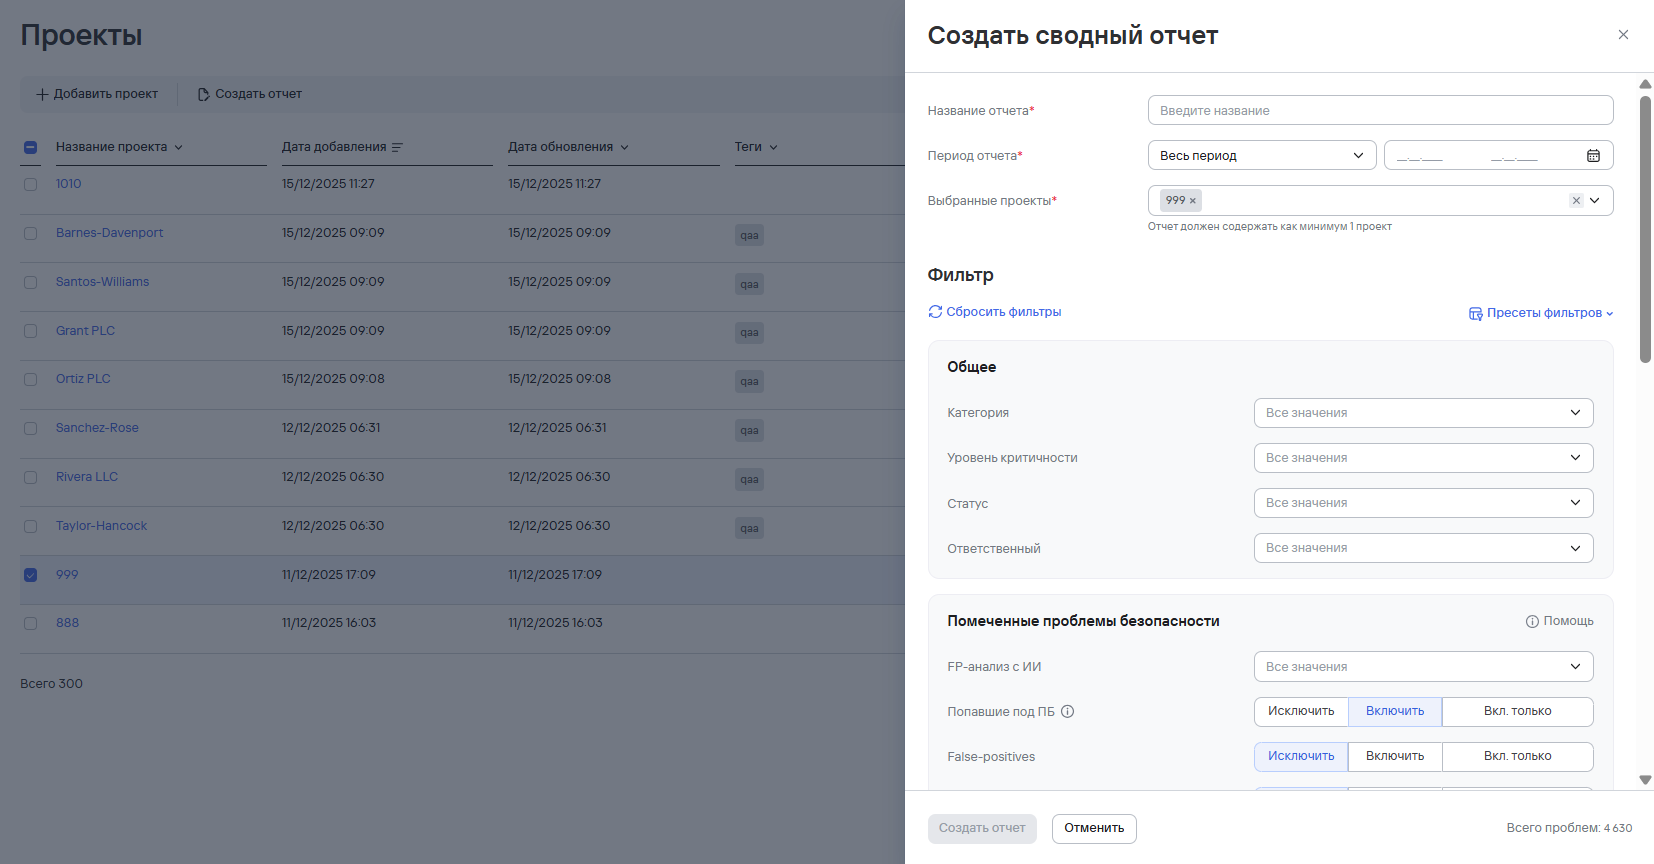
Графики в Сводных отчетах формируются ТОЛЬКО по тем проектам, в которых были найдены проблемы безопасности. Кроме того, в случае выбора нескольких проектов при настроенных фильтрах, некоторые фильтры могут не примениться к метрикам по причине настроек внутренней логики. Подробнее о метриках и фильтрах см. в разделе Swagger (подраздел Stats).
- Нажать на кнопку Создать отчет. Отчет появится в разделе Отчеты → Сводные.
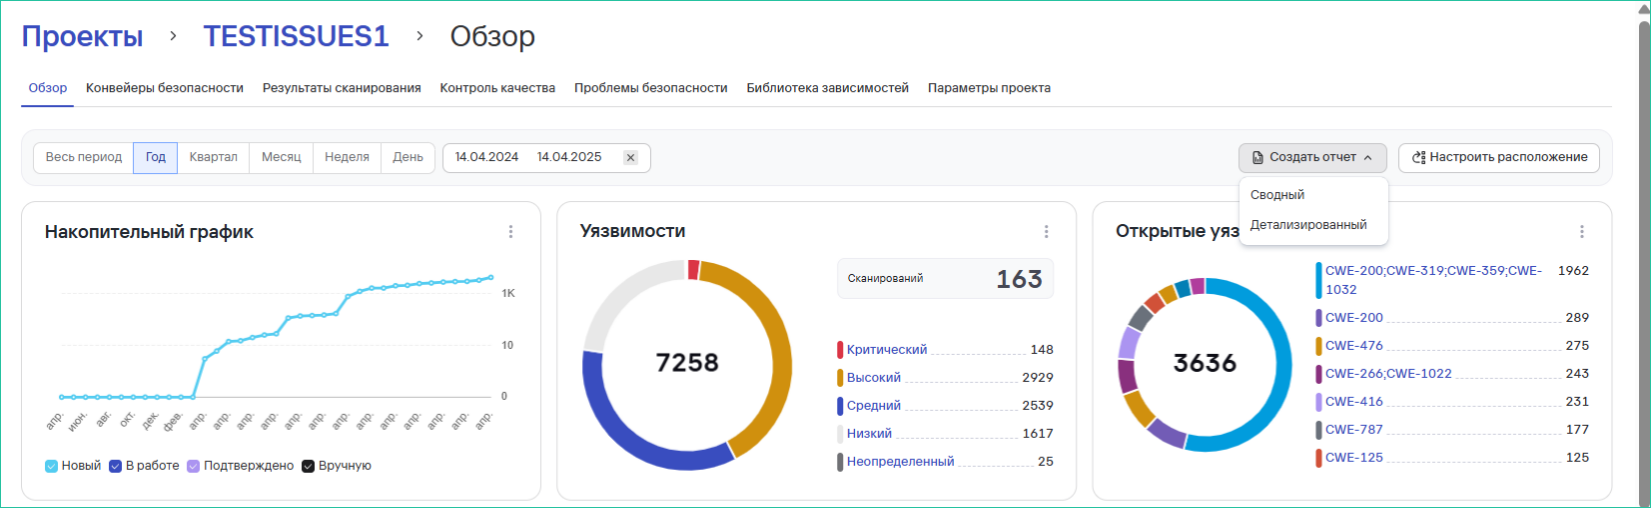
Детализированный отчет
- В разделе Проекты перейти на страницу проекта (клик по названию проекта)
- Нажать на кнопку Создать отчет → Детализированный
- В открывшемся окне заполнить поле Название отчета и добавить необходимые фильтры по полям отчета
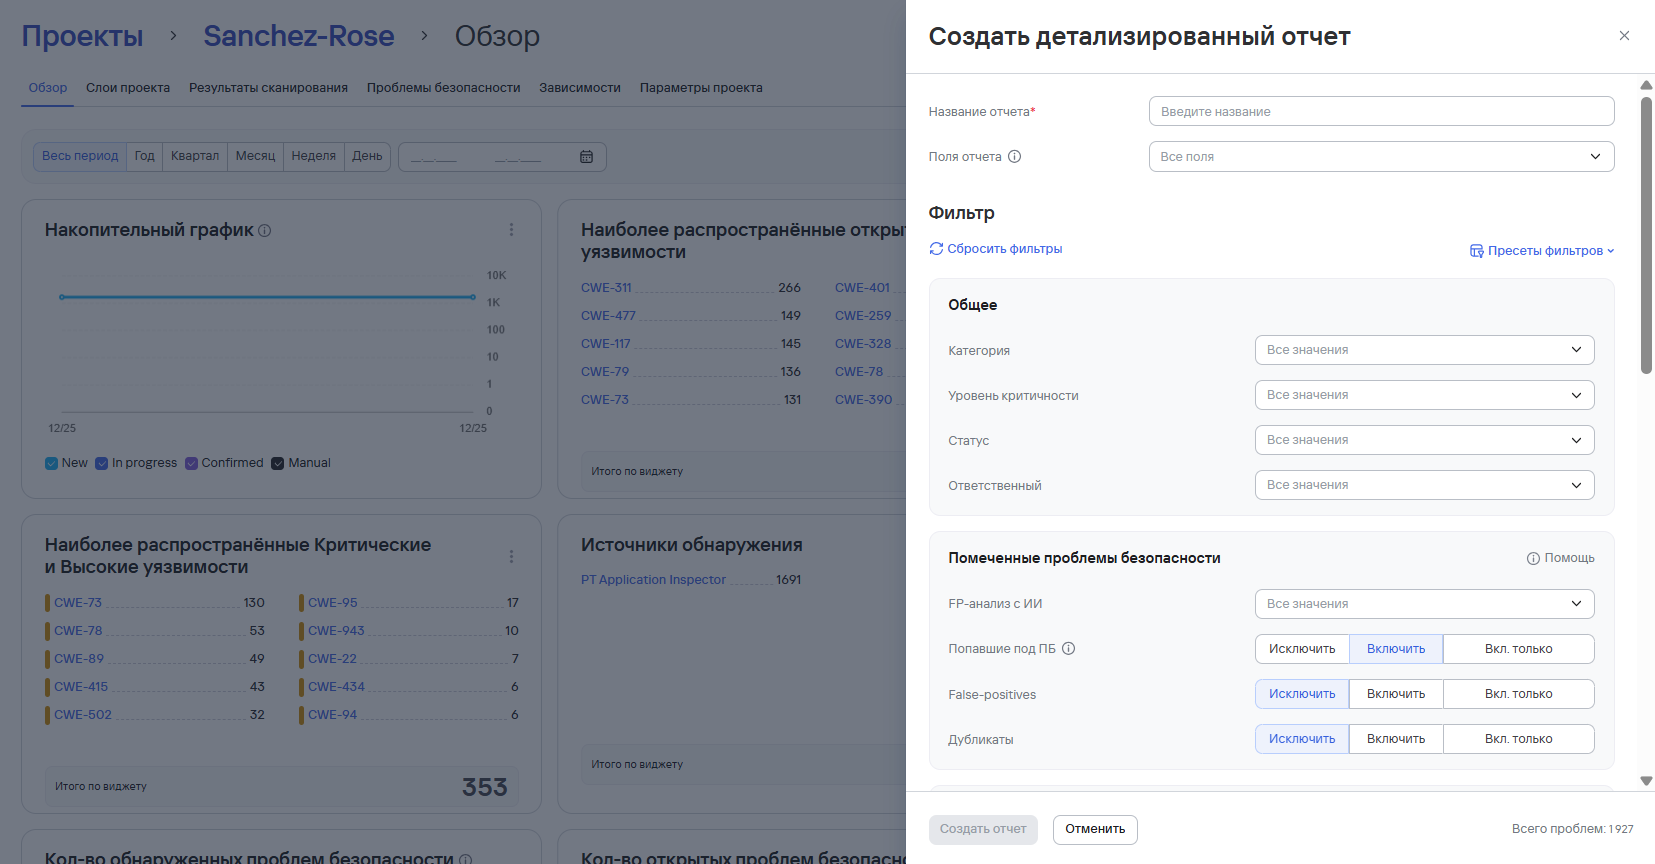
В случае выбора нескольких проектов при настроенных фильтрах, некоторые фильтры могут не примениться к метрикам по причине настроек внутренней логики. Подробнее о метриках и фильтрах см. в разделе Swagger (подраздел Stats).
- Далее нажать на кнопку Создать отчет. Отчет появится в разделе Отчеты → Детализированные.
Обзор проекта
Подраздел Обзор предоставляет возможность просмотра Дашборда с информацией по часто встречающимся уязвимостям с параметрами критичности, источникам обнаружения и рейтингом наиболее критичных уязвимостей в рамках одного проекта. Значения накопительных графиков обновляются раз в сутки (по некоторым данные обновляется ежедневно в 00:00 по серверному времени).
Как открыть: В списке проектов кликните на имя проекта.
Настройка виджетов: Аналогична настройкам информационной панели (см. соответствующий раздел).
- Все графики обновляются раз в сутки (по некоторым данные обновляется ежедневно в 00:00 по серверному времени)
- Для работы с проектами требуются соответствующие права доступа
- Рекомендуется не создавать отчеты с более чем 80 проблемами для оптимальной производительности
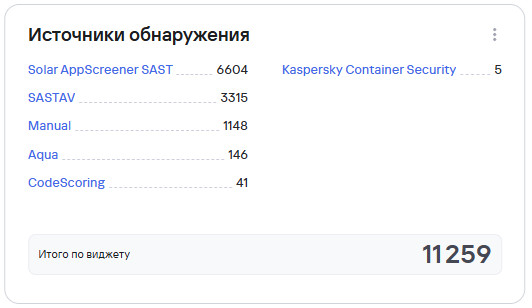
В Обзоре проекта, кроме основных виджетов, как на Информационной панеле, предусмотрены следующие виджеты:
- Источники обнаружения - источники сканирований, используемые в проекте
- Инструменты безопасности - используемые и неиспользуемые в проекте инструменты безопасности, с возможностью настройки отображения инструментов на виджете
